Etching Photos onto Metal
Metal etching can be dangerous! If you’re going to try this, make sure to read all red the warning text at the bottom of the Edinburgh Etch page first!
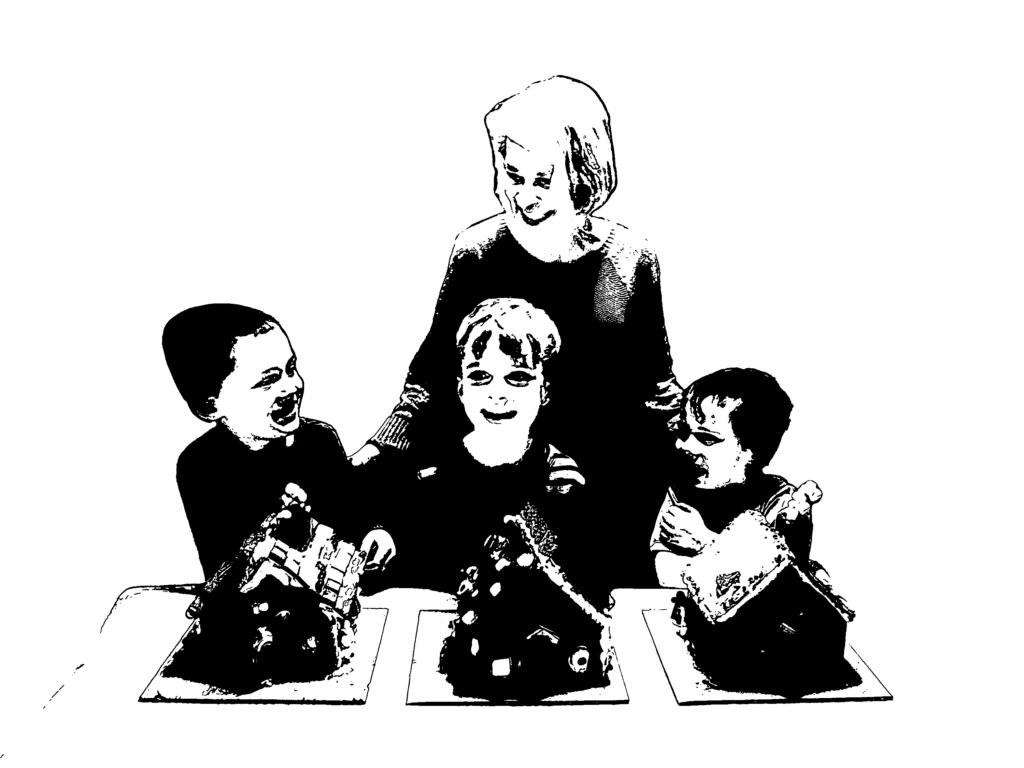
The big reason I spent all the effort learning to use press n peel paper to etch (instead of cutting vinyl stencils on my cameo) is that I really wanted to be able to get the fine detail needed to etch a photograph onto metal. But it’s not as simple as just laser printing the photo and etching it! There’s a lot of prep work I do on the pictures in Photoshop to get them to look good when etched. The big problem is that photos are full color, and etching doesn’t even have colors–I have to get the photo down to one color, and simplify it quite a bit. This is the same basic process I use when laser etching photos or cutting photos into vinyl on my cameo. Here’s the original photo I wanted to modify:
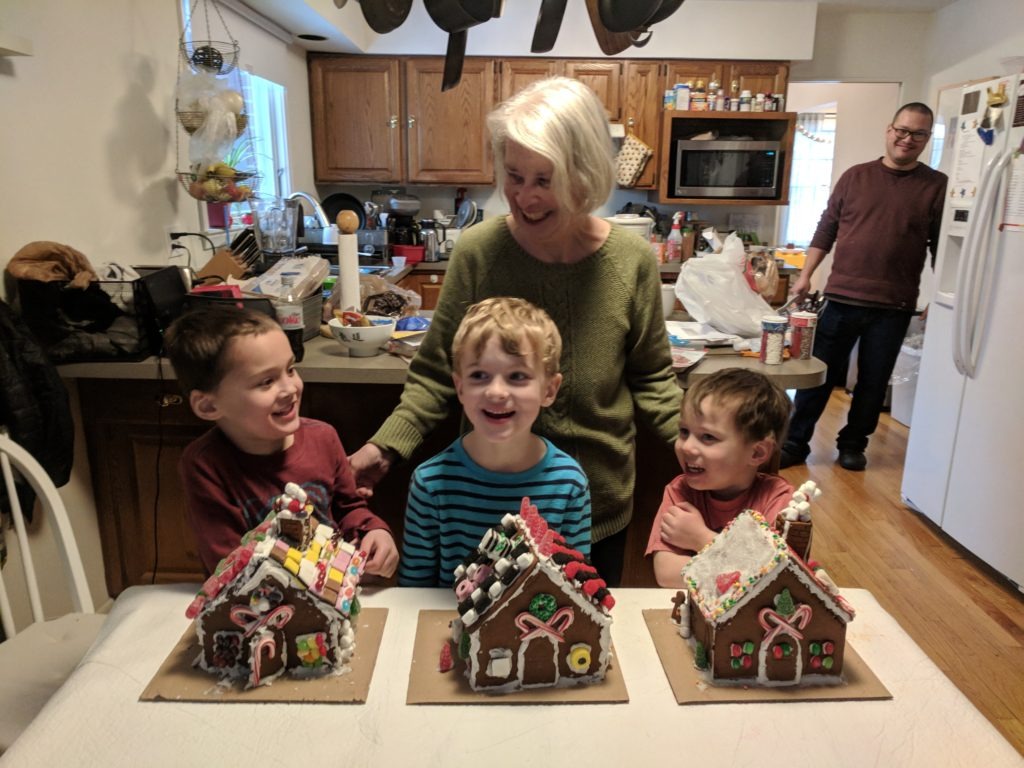
A photo of grandma making gingerbread houses with the grandkids. As-is, there's way too much going on in the background and it's pretty far from black and white line art.
First, I almost always cut out the background. I’m generally etching onto a piece of metal as small as 1″ round, and all the detail from the background just looks confusing in a single color at small scale. I use the Topaz Remask Photoshop plugin to cut out the background, since it was the first one I tried and it worked well for me, but there are lots of plugins that do this, and lots of tutorials online on how to do it without buying a plugin.
Next, I convert the photo to black and white. Then I crank up the contrast, so that there’s very little grey, and most of the photo is either very light or very dark. At this point there are usually some details to fix:
- Sometimes an important feature gets too light to see. For example, maybe somebody’s nose fades to white. I use the Photoshop burn tool to darken these areas.
- Sometimes cranking up the contrast brings in some dark lines I don’t like. Maybe it accentuates the wrinkles on their face. I use the Photoshop dodge tool to minimize these type of lines.
- Sometimes parts of the photo fade into a white background because they’re very light. I keep the photo in its own layer, and use the paintbrush in black to paint behind it to create a light outline of these areas.
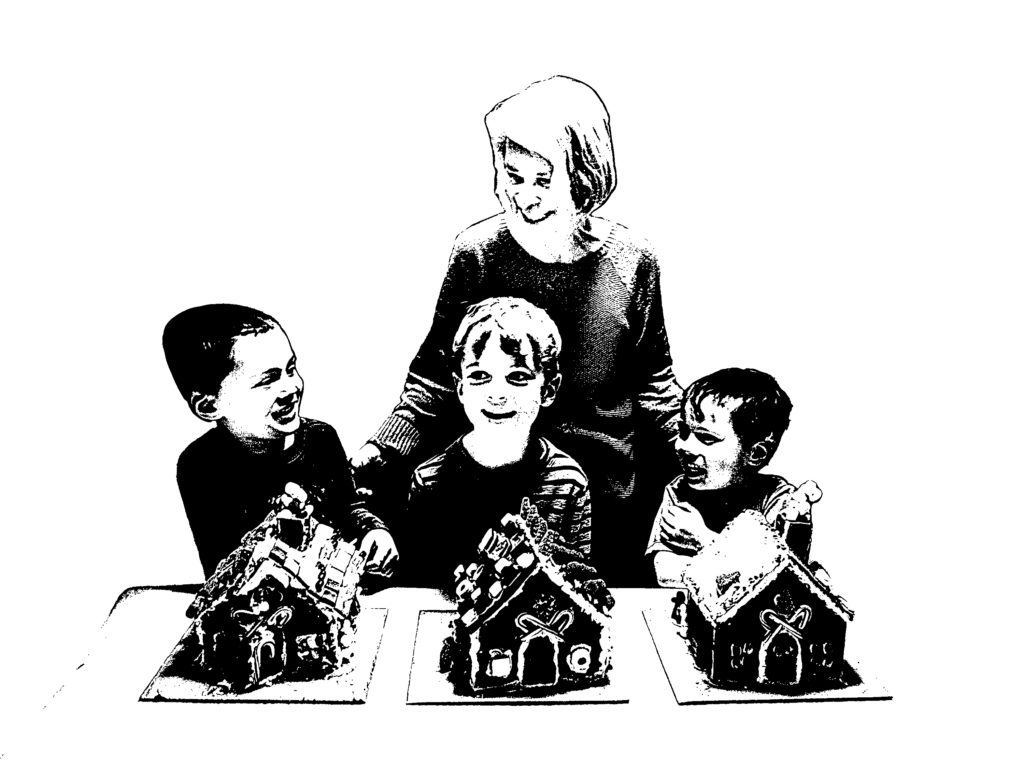
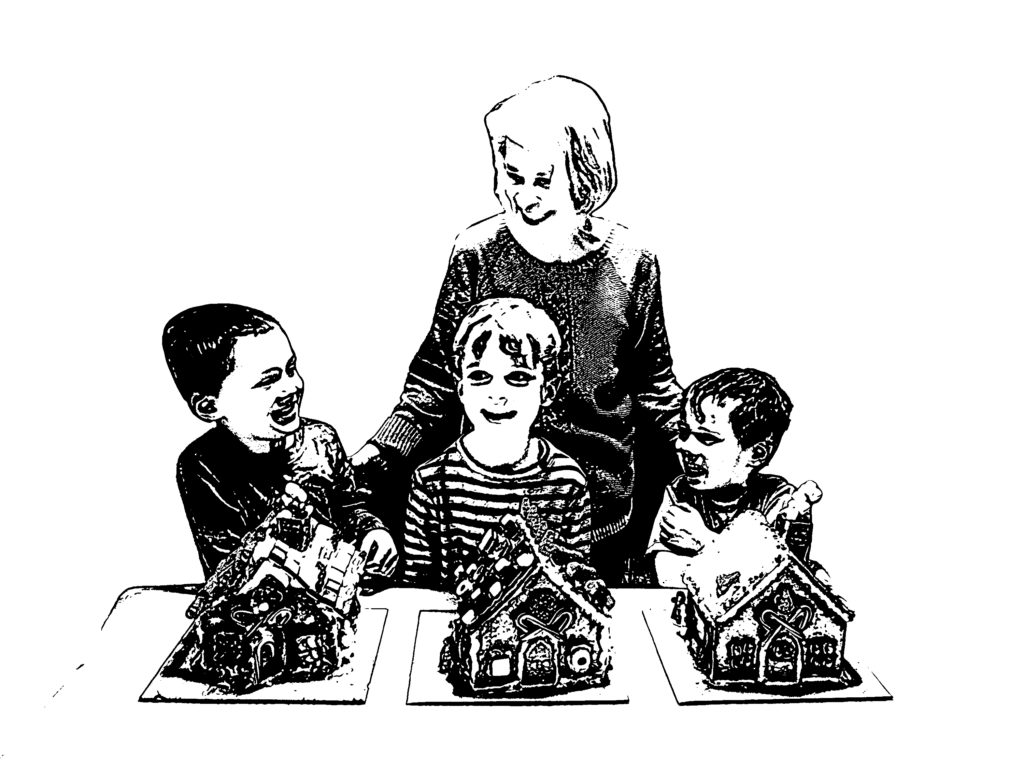
Here’s our photo after I cut out the background, converted to black and white, cranked up the contrast, and did these cleanups:

You can see my mom’s face is a lot lighter, and I added some background outlines around my son’s face on the left and my mom’s hair.
But the photo still has a lot of grey, and a lot of detail for something I want to etch onto 2 inches of metal. At first I used to try to go directly to photoshop’s bitmap tool to change to a50⁄50 bitmap, or to use Illustrator or Vector Magic to convert to a black vector and hope for the best. But when I made this board book I started to realize that cartoon/drawing plugins can simplify these images while still keeping the details I want. I mostly use Toon It! from Digital Anarchy, but I’ve gotten some good results with Filter Forge filters and Topaz Simplify too. Here are some examples of the image through various Toon It filters; some give blockier images and some give more detail, and often I need to etch a few to see what looks best.
All of these are a little bit different, with too much detail in some areas, and not enough in others. I end up etching multiple ones to compare.
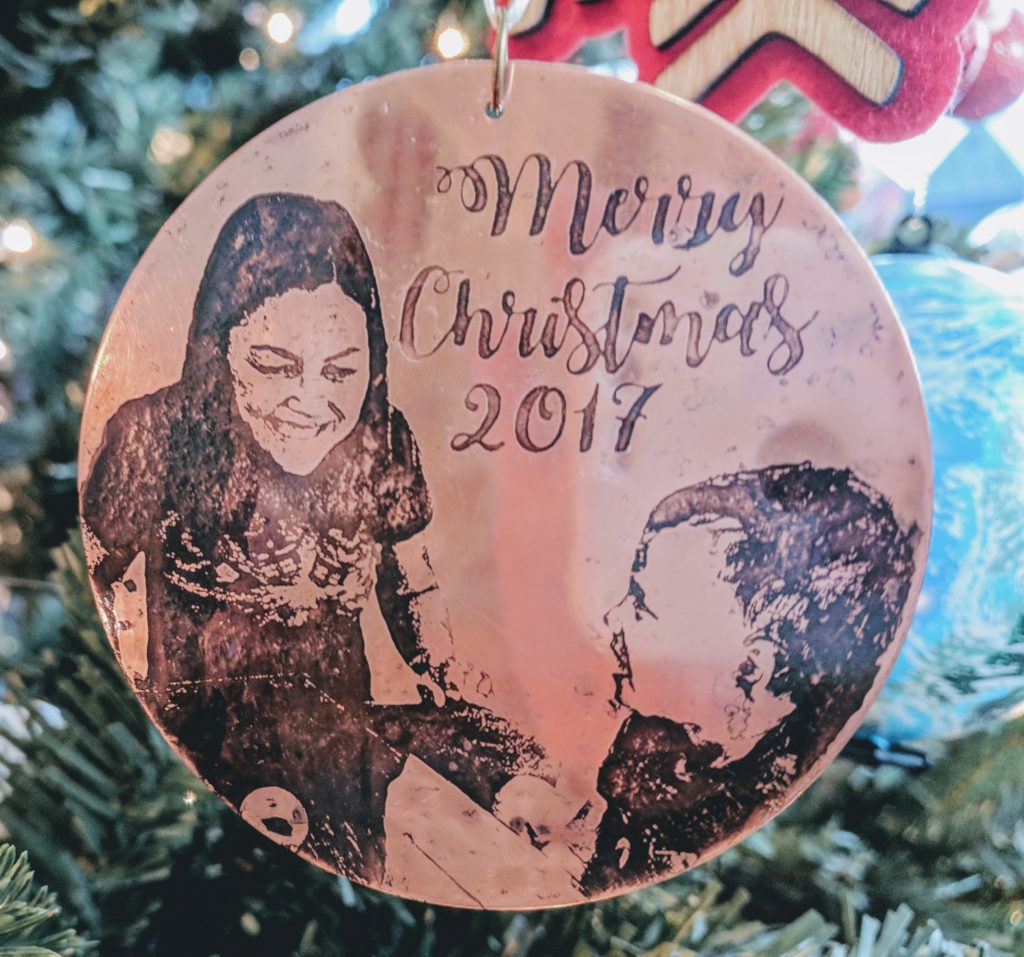
After I have the image to the point I want to etch it, I invert the colors so the background is a black resist, and the parts in white get etched through. I usually mirror the image too, because it will be mirrored again when I transfer the ink to the metal. But for this image I didn’t bother. Here’s what it looks like after etching and applying a patina:
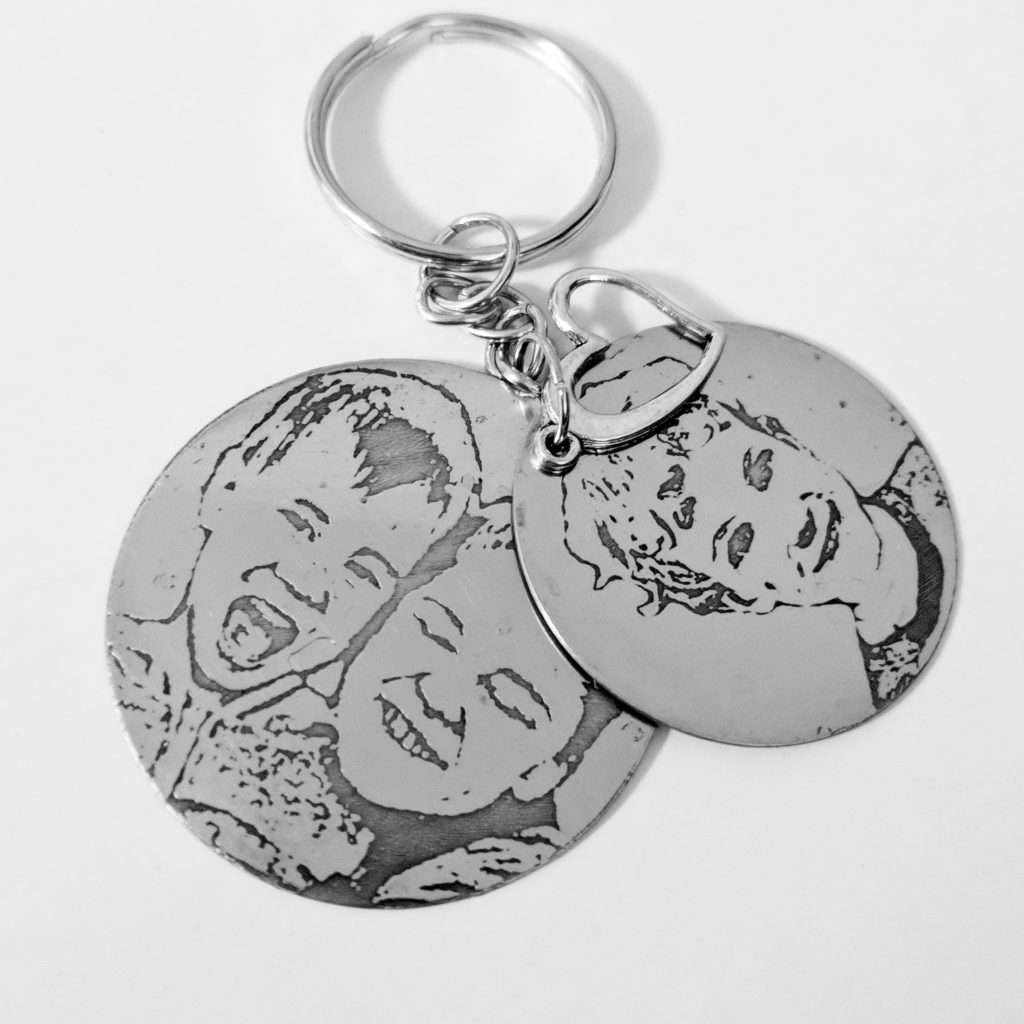
I made lots of different ornaments and keychains this way. Here are some more of the finished products: