Learning to etch metal: Edinburgh etch on copper and brass stamping blanks
Metal etching can be dangerous! If you’re going to try this, make sure to read all red the warning text at the bottom of the Edinburgh Etch page first!
When I took the laser cutter class at Maker Works and learned about all the different materials you can etch, I was really interested in learning how to etch metal. But most lasers at makerspaces and such are CO2 lasers, which can’t etch metal. You can use Cermark, but it just makes the metal black where the laser hits.
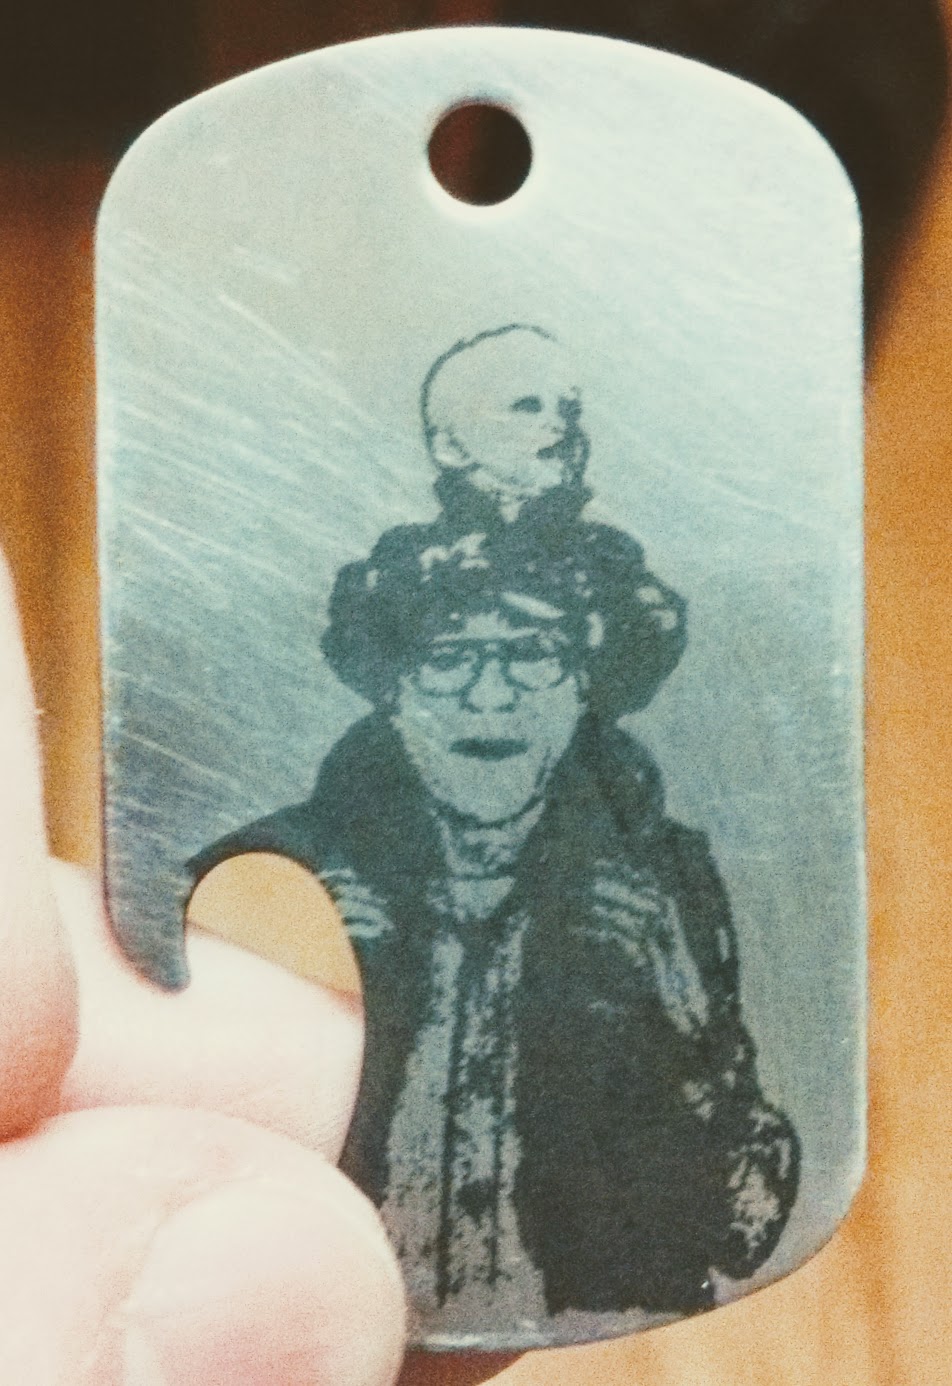
A photo lasered onto a stainless steel dog tag with Cermark. It makes a black mark on the surface, but doesn't actually etch it at all.
I really wanted to do something that was etched into the metal. Getting a fiber laser was out of the question, so I researched techniques for etching metal, and I learned about chemical etching. The basics are this:
- You apply a resist to the metal. This should be something the etchant won’t get through. It can be sharpie pen, nail polish, vinyl stencils, electrical tape, lots of things. But I really wanted high detail etchings, and ones from photos, that I could design on the computer. After some digging, I found out about blue press n peel paper. You print out the resist onto the paper on a laser printer, and use heat to transfer it to the metal. I used this for all my etchings.
- You put the metal in a bath of etchant. Different metals will etch in different solutions; I wanted to etch copper, brass, and nickel silver so I used Edinburgh etch which I made from ferric chloride I got at Armstrong Tool Supply, water, and citric acid I got at Meijer.
- You take out the metal and neutralize the etchant. For Edinburg etch I used sodium carbonate I got at Meijer.
- You remove the resist. For all the resists I listed except tape, they come off with acetone.
As far as what metal to etch, I found tons of cool options advertised as stamping blanks. There are tons of them on Amazon prime, and a few in the jewelry section of craft stores, although you need to be really careful to understand what type of metal they are. For example, putting aluminum in ferric chloride will cause a dangerous chemical reaction.
Before getting into photos, I started with some simple designs I made on the computer. A keychain for my sister’s cat sitter, and some Harry Potter bookmarks. Here is an example printed out on the pnp paper:
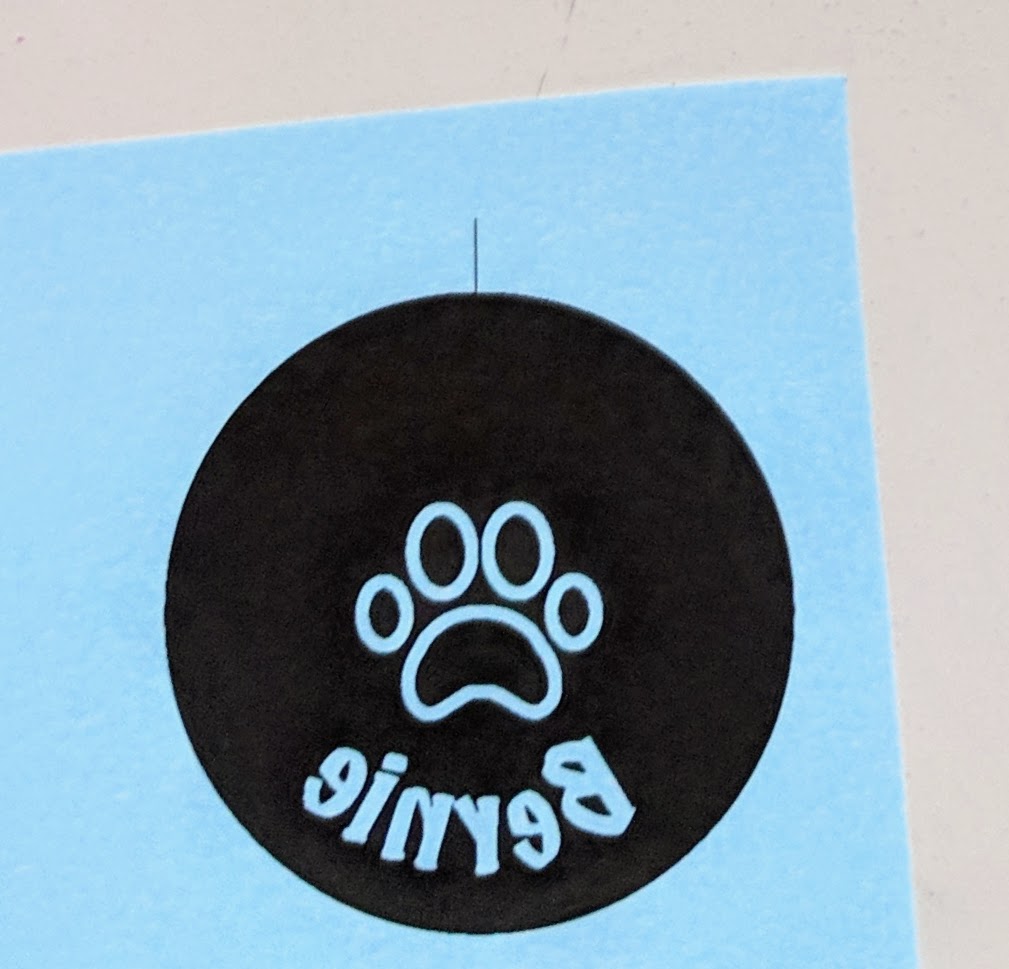
A simple design printed onto press n peel paper. The design is mirrored because the paper is applied face down to the metal, and the resist transfers upside down.
I found it pretty difficult to transfer them from the paper to the metal; I have a heat press and that worked pretty well, but there were still holes where the ink didn’t transfer. The instructions recommend heat between 275 and 325 degrees; I did a test at each temperature to find the one that worked best for me (about 300 degrees, on the left):
Several copper bracelet blanks with resist from pnp paper applied at various temperatures.
The good thing is that the fine details mostly come through, and most of the gaps are in big dark areas, which means that I can just color them in with a sharpie, which is what I did. Then I put them in a bath of etchant, waited, neutralized, and took off the resist with acetone.
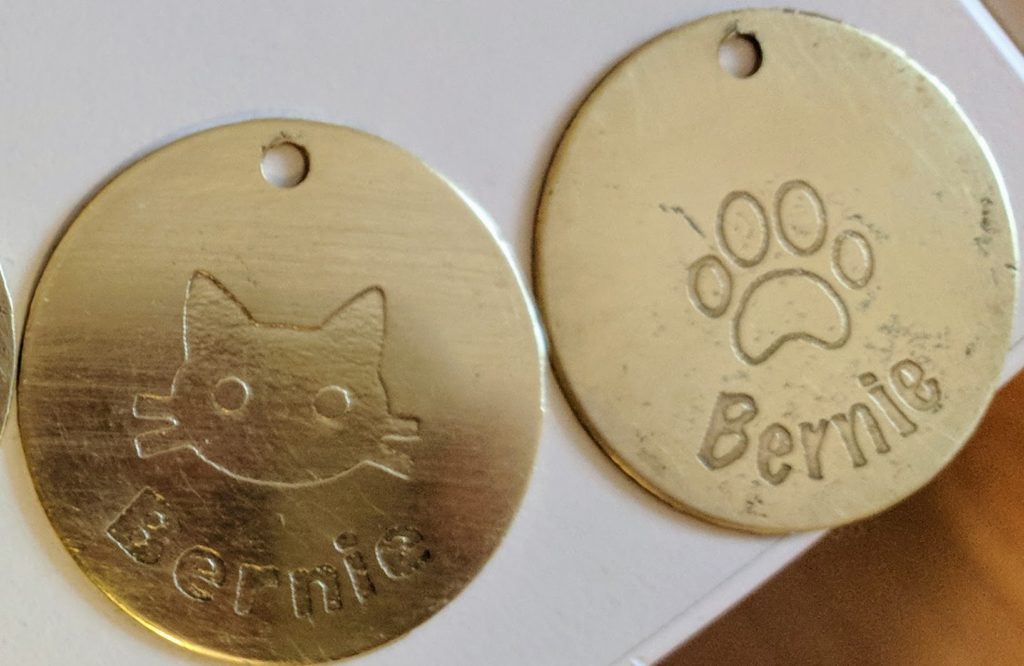
A brass keychain after etching. You can see some areas where sharpie didn't fully cover up the holes left in transferring the resist from the pnp paper.
Copper bracelet blanks after etching.
Definitely etched my designs into metal! Cool! But I noticed two things:
- The scuffs that come from holes in the resist can look cool on more distressed type designs, but they look really bad on clean designs like the cat pawprint keychain.
- The etched in designs can be really hard to see.
Luckily, while I had been shopping around at Armstrong Tool Supply, I saw some JAX blackeners and thought they looked interesting. I experimented with applying them while the resist was still on, which gives a pretty deep contrast (jax black on the left two, jax brown on the right two):
Brass keychains etched, with patina applied before removing resist from pnp paper.
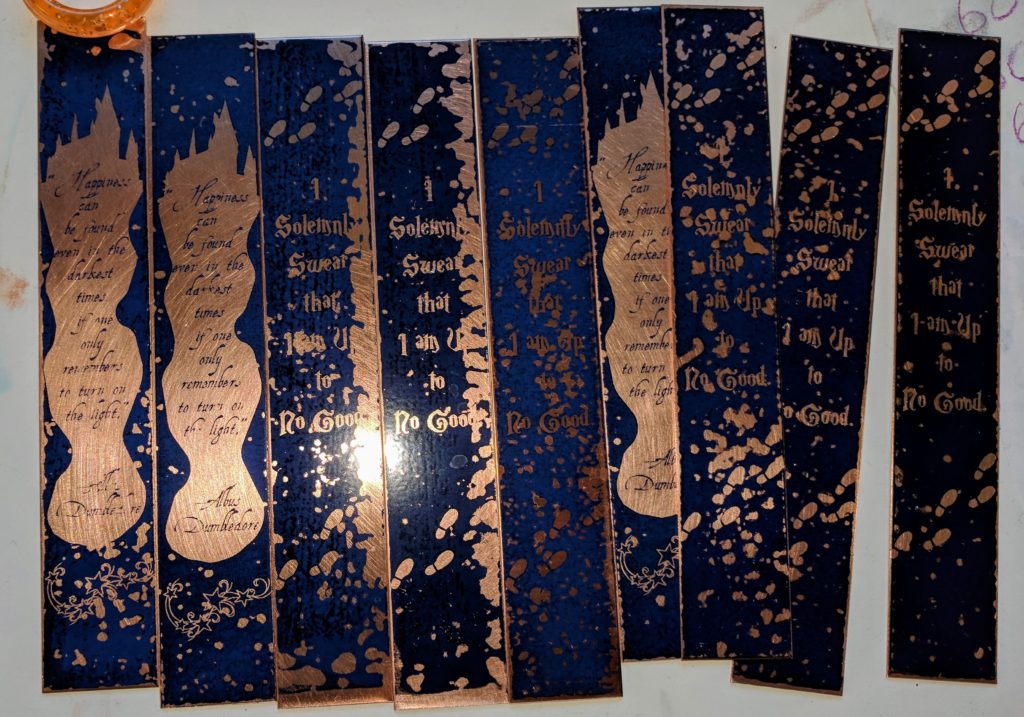
I also tried applying the patina to the whole thing and then polishing it off the top layer. I found this Vintaj buff block worked well for that, and it created a softer look, but still with more contrast:
Copper bookmarks etched, cleaned, patina applied and then sanded off the top layer.