I’ve made a bunch of bleach shirts using stencil vinyl/contact paper on
my cricut. But I really wanted to try it on my Glowforge, since it can cut higher detail stencils. I
also wanted to try switching to freezer paper, so that I can iron/heat gun the bleached areas of the
shirt to make them lighter.
The big problem I had with freezer paper (on both the cricut and the Glowforge) is that it curls up
a ton, and I didn’t have a good way to transfer the stencil to the shirt, especially stencils with
multiple tiny bits. Then I saw some people on the Glowforge Facebook
group using repositionable spray adhesive to
solve similar problems. I decided to try it. I came up with the following process:
Get a shirt ready! Should be either 100% cotton or a cotton/polyester blend. Wash and dry it,
then iron it. Put a piece of cardboard inside it so that the bleach doesn’t run through to the
back.
Spray repositionable spray on cardstock. (I used this spray). It was really easy to use too much.
I usually ended up sticking two sheets of cardstock together to get the extra off.
Put freezer paper shiny side up on the cardstock.
Stick the whole thing onto a Seklema mat and put it into the Glowforge. (I’m sure magnets or
other ways to hold down paper work fine here.)
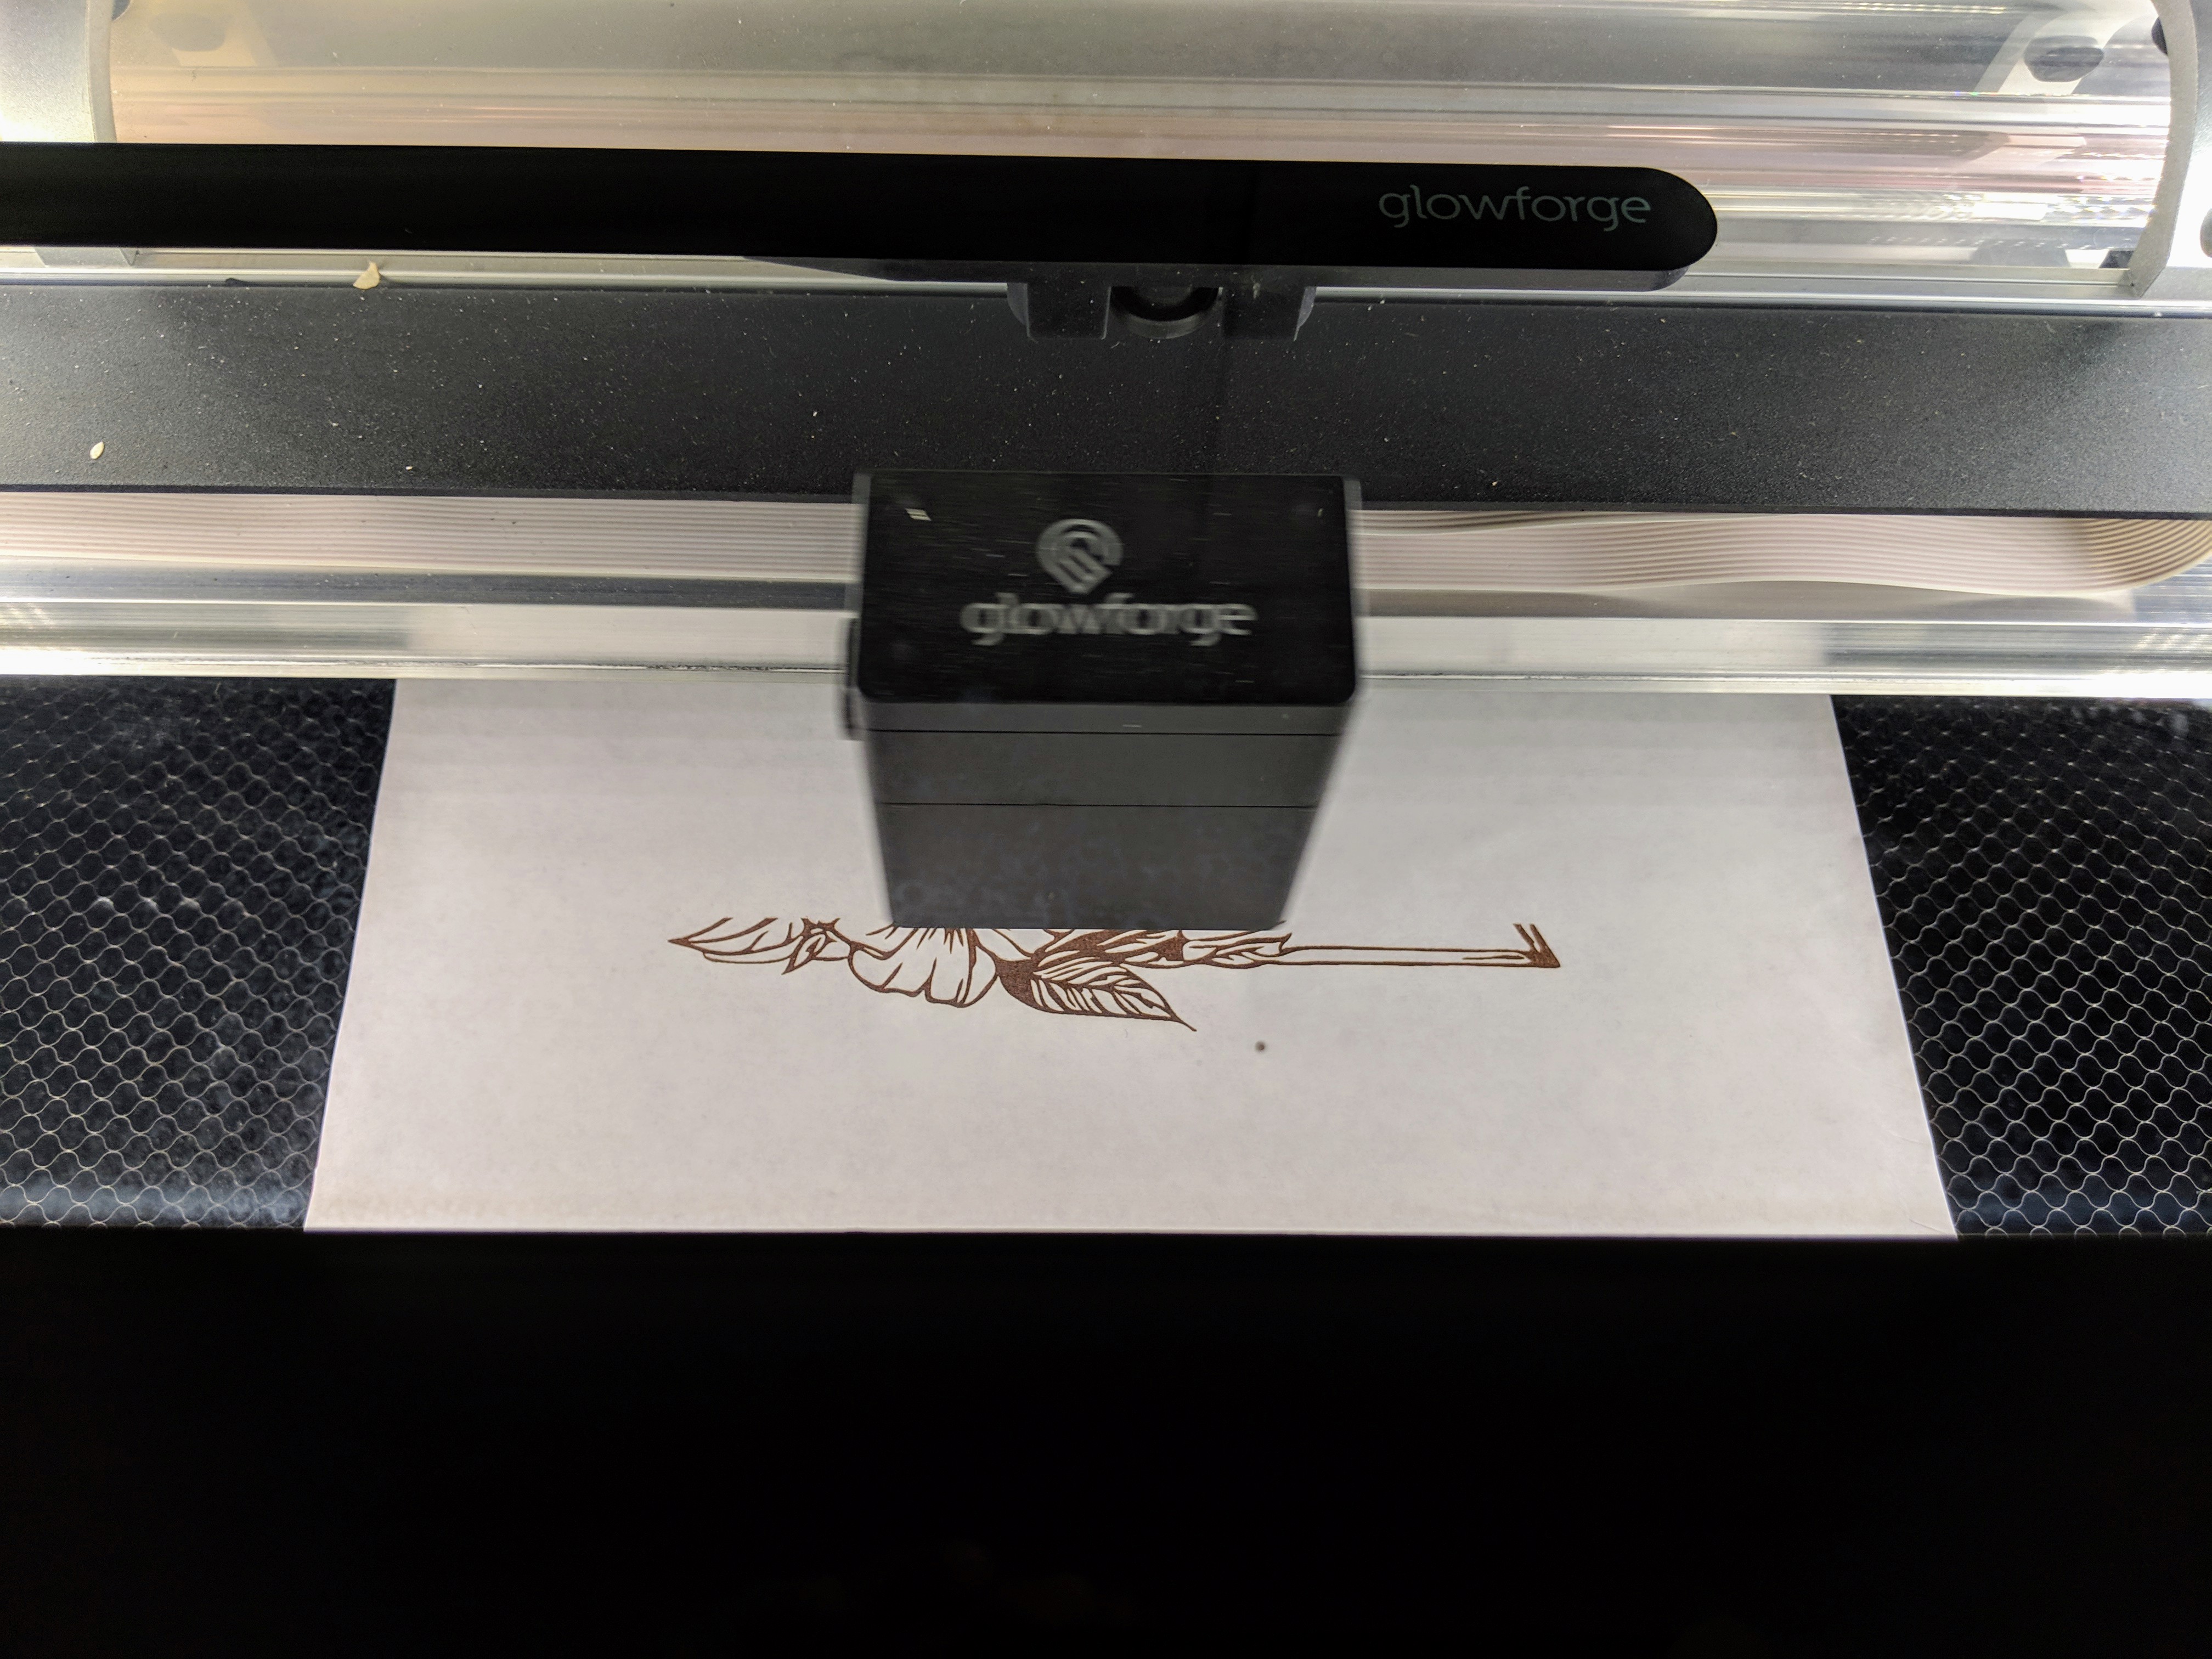
Etching the design in the glowforge. You can see the freezer paper being etched to reveal the cardstock underneath. Try not to etch all the way through the cardstock!
Mirror the design (the shiny side will get ironed to the shirt).
I tried both cutting and etching. Cutting is much faster, but less detailed since the edges burn
a bit, and you need to weed the cut out parts. Etching is slower, but you don’t need to weed and
detail comes out cleaner. After some experimentation, I came up with the following settings I
liked:
Cut settings: Speed 500, Power 15
Engrave settings: Speed 1000, Power 45, LPI 225 (reduce power at higher LPI)
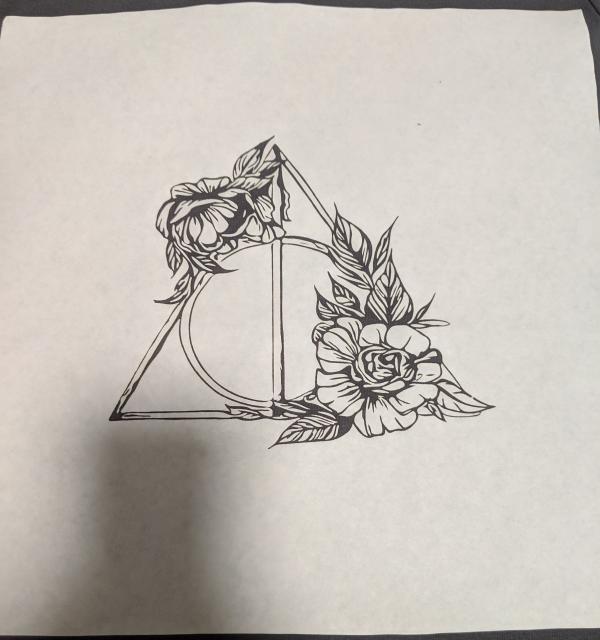
At this point, you should have an etch that looks like this:
Finished etch of freezer paper on cardstock.
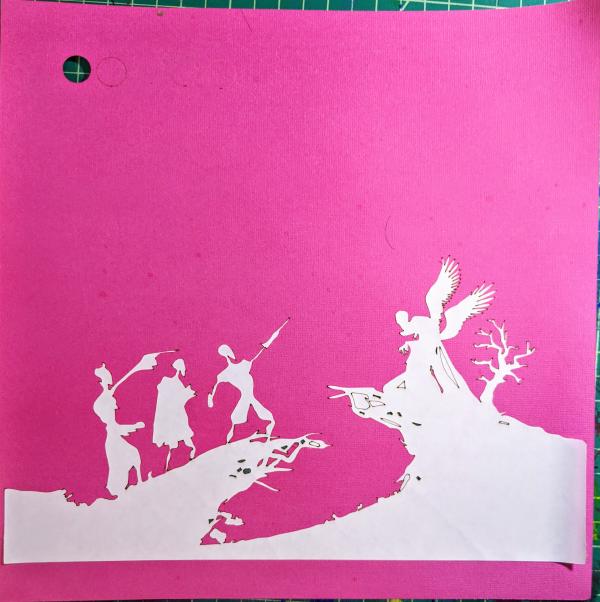
or a cut that looks like this:
Finished cut on freezer paper on cardstock. This was mostly weeded when I realized I forgot to mirror it and started over. Note that this approach works well on a cricut too!
Now pull the cardstock plus freezer paper out of the Glowforge, and weed it if you cut the design
instead of etched. Then stick the whole thing freezer paper side down onto the shirt, and use
heat to make the freezer paper stick to the shirt. I used a heat press at 250 degrees for 30
seconds, but an iron on low heat should work, too. Don’t use too much heat or the freezer paper
will be really hard to get off the shirt after bleaching. Once the freezer paper is stuck to the
shirt, you can pull off the cardstock.
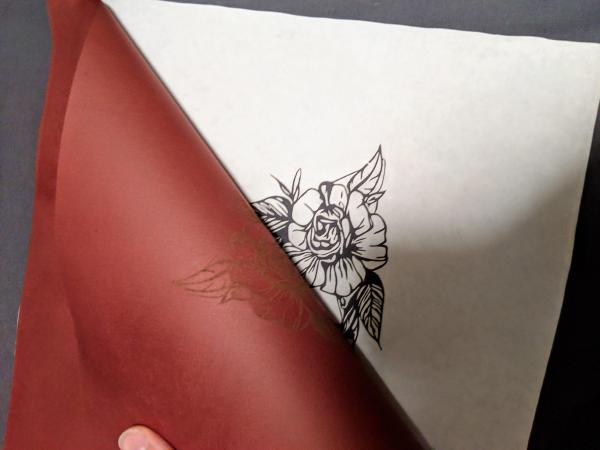
In this photo, the freezer paper and cardstock have been ironed onto the shirt, and the cardstock is being peeled back so that only the freezer paper stencil remains.
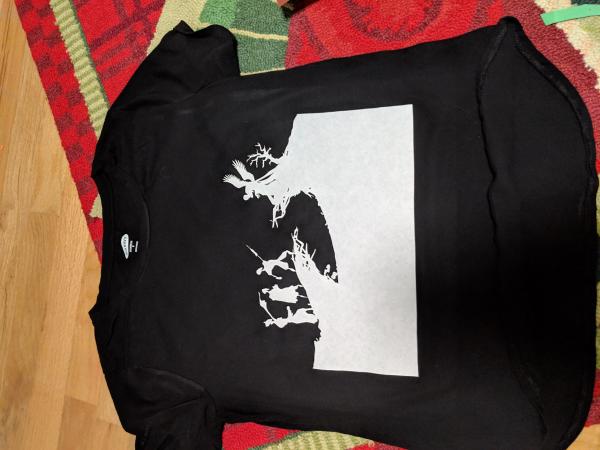
Now it should look like this:
In this photo, the cardstock has been removed and we now have just a stencil on the shirt.
Spritz the shirt with bleach or bleach/water mixture. Apply heat with heat gun or iron as needed
to lighten the color.
Dunk the shirt into water with a little hydrogen peroxide mixed in. Pull off the freezer paper
while it’s wet.