Making bleach shirts with stencils cut on Cricut Maker
The Basics
I randomly happened upon this subreddit full of bleach shirt pictures and was totally mesmerized. So many different possibilities, and such a simple process. So I started reading up. There are a lot of variations in the process, but making bleach shirts mostly looks like this:
Use a 100% cotton shirt. Wash the shirt. Lots of shirts come with chemicals on them that will stop the bleach from working.
Make a stencil. Lots of people draw their own stencils and cut them with x-acto knives, but some folks use a cutting machine like my cricut maker. The majority of people use freezer paper for stencils, but some people use contact paper or stencil vinyl. It’s important that the stencil sticks a little to the shirt to prevent the bleach from bleeding under it.
Iron the shirt and put a piece of cardboard inside it, so that the bleach will go on evenly and not bleed through to the other side of the shirt.
Put the stencil on the shirt. If it’s a freezer paper stencil, you iron it on. If you iron at too high a temperature, the freezer paper often gets stuck in the shirt. For contact paper/vinyl stencils, you can use transfer tape. This is the hardest part of the process for me. Freezer paper curls a lot, and contact paper/stencil vinyl can stick more to the transfer tape than to the shirt. I really want to try heat transfer tape for the freezer paper.
Dilute some bleach and put it in a spray bottle. Most people dilute 50⁄50, sometimes up to 90% bleach/10% water. It’s important that the spray bottle produce a light mist. If you soak the shirt, the bleach will bleed under the stencil. I used cheap travel spray bottles from CVS. Rinse out the bottle when you’re done, or the bleach will eat through it.
Spritz the shirt with the spray, and use a paper towel to dab excess off the stencil. It should dry pretty quickly, and you can spritz again until it’s light enough. The bleached area gets lighter if you iron a bit after you spritz, but you need to use a heatproof stencil like freezer paper if you want to iron.
When the shirt is done, dunk it in a bucket of water with a little bit of hydrogen peroxide to neutralize the bleach. Then wash the shirt.
If your design has multiple levels of color, you can make multiple overlapping stencils and peel them off and re-bleach in multiple passes.
Contact Paper vs Freezer Paper
The first thing I wanted to know was whether contact paper would work as well as freezer paper for bleach shirts. So I cut two stencils, one of each material, on my cricut maker, and bleached them into identical shirts for the boys:
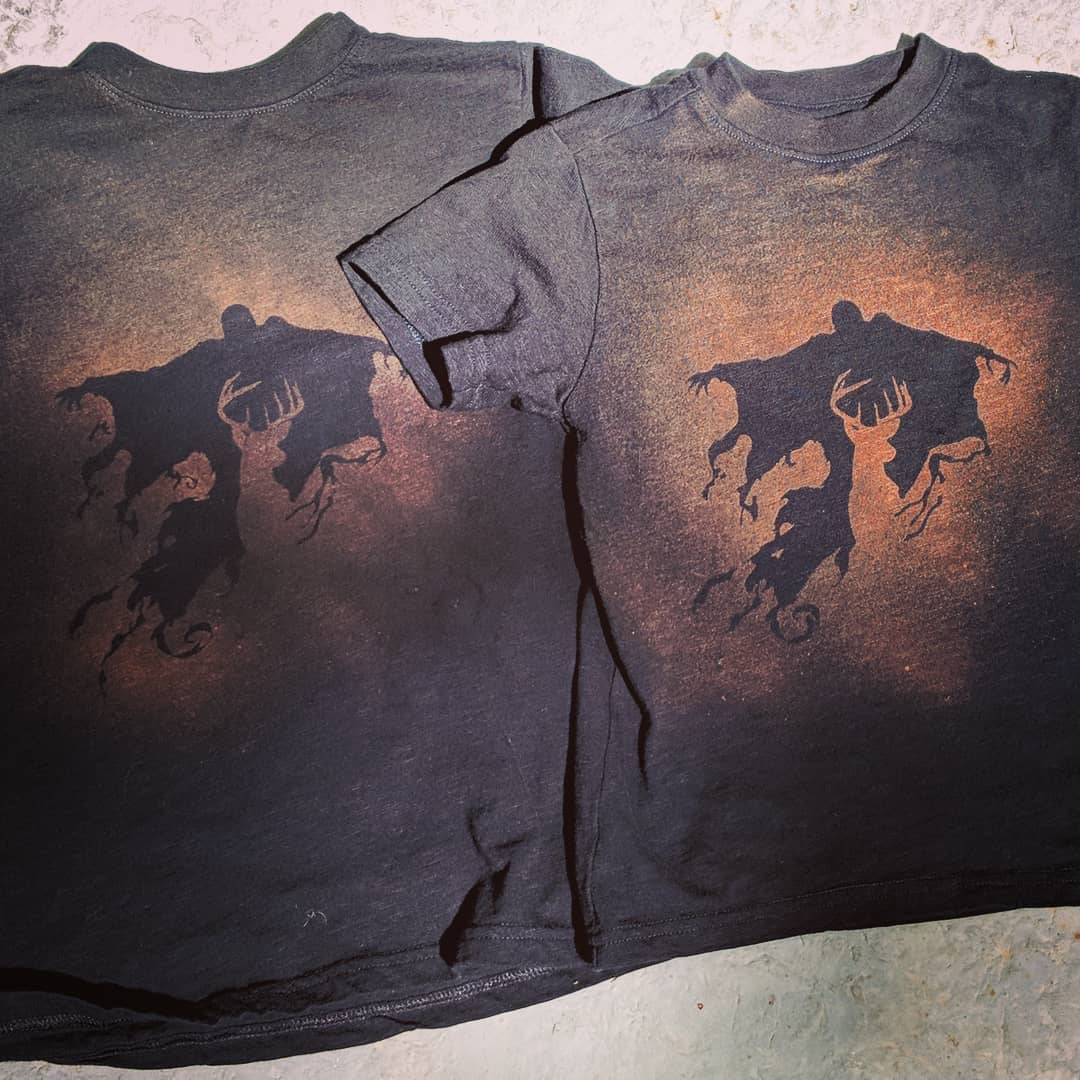
Equally crisp lines using a stencil made of contact paper vs freezer paper. Note that I didn't use heat for these shirts; contact paper doesn't work well with heat.
Pretty much no difference! Except that it took about 45 minutes to cut and weed and iron on the freezer paper, and 5 minutes for the contact paper. So contact paper is way easier if you’re not planning on ironing the shirt as you’re bleaching. Although I’ve heard that Siser TTD Masks can be used as heat transfer tape for freezer paper, and that would probably make it way easier. I plan to try it next time I attempt a design I want to iron.
Experimenting with Silhouettes
I love the way the bleach spray highlights a silhouette, so I made a bunch of stencils on this theme, and I was really happy with the way they all came out:
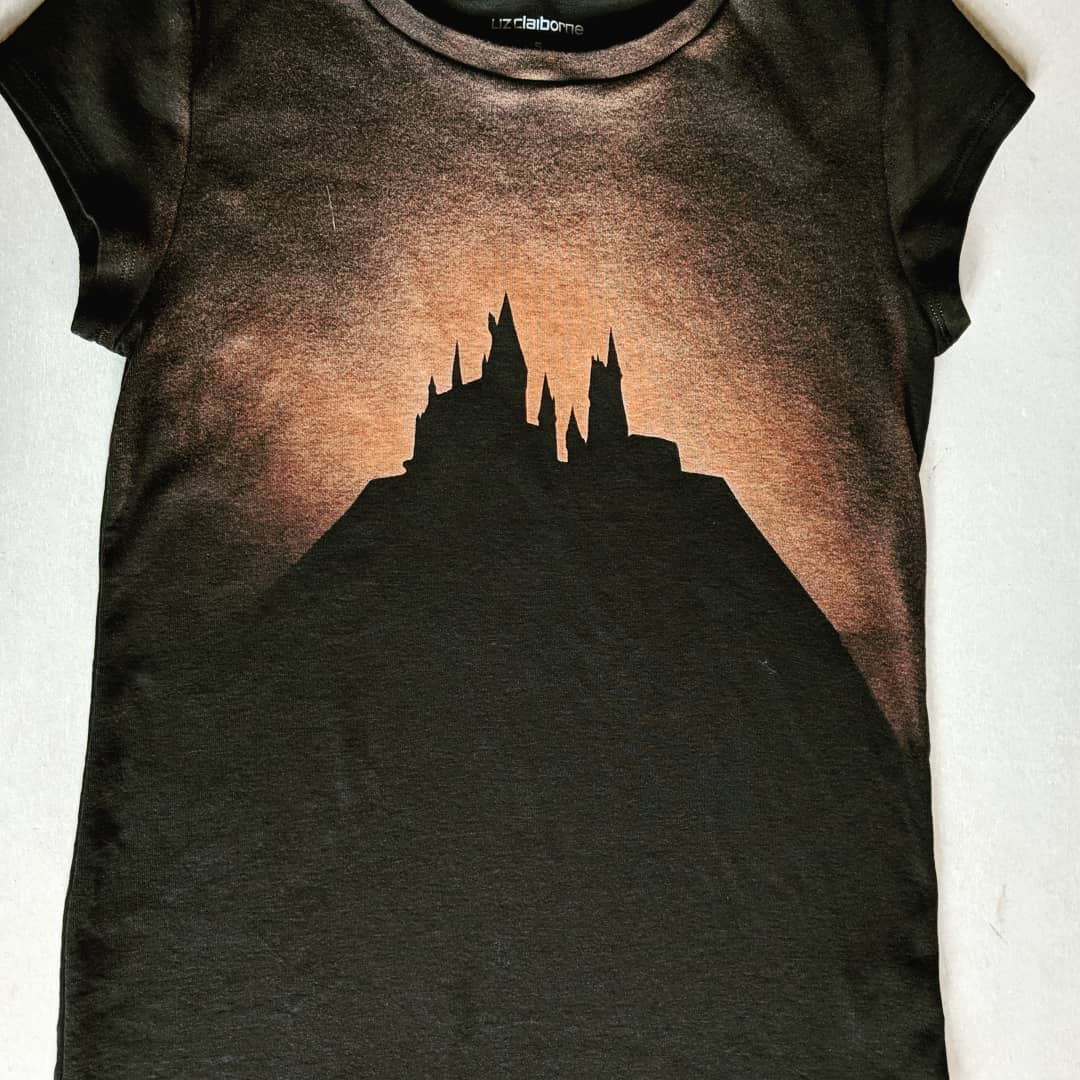
Silhouette of Hogwarts.

Stranger Things themed silhouette.
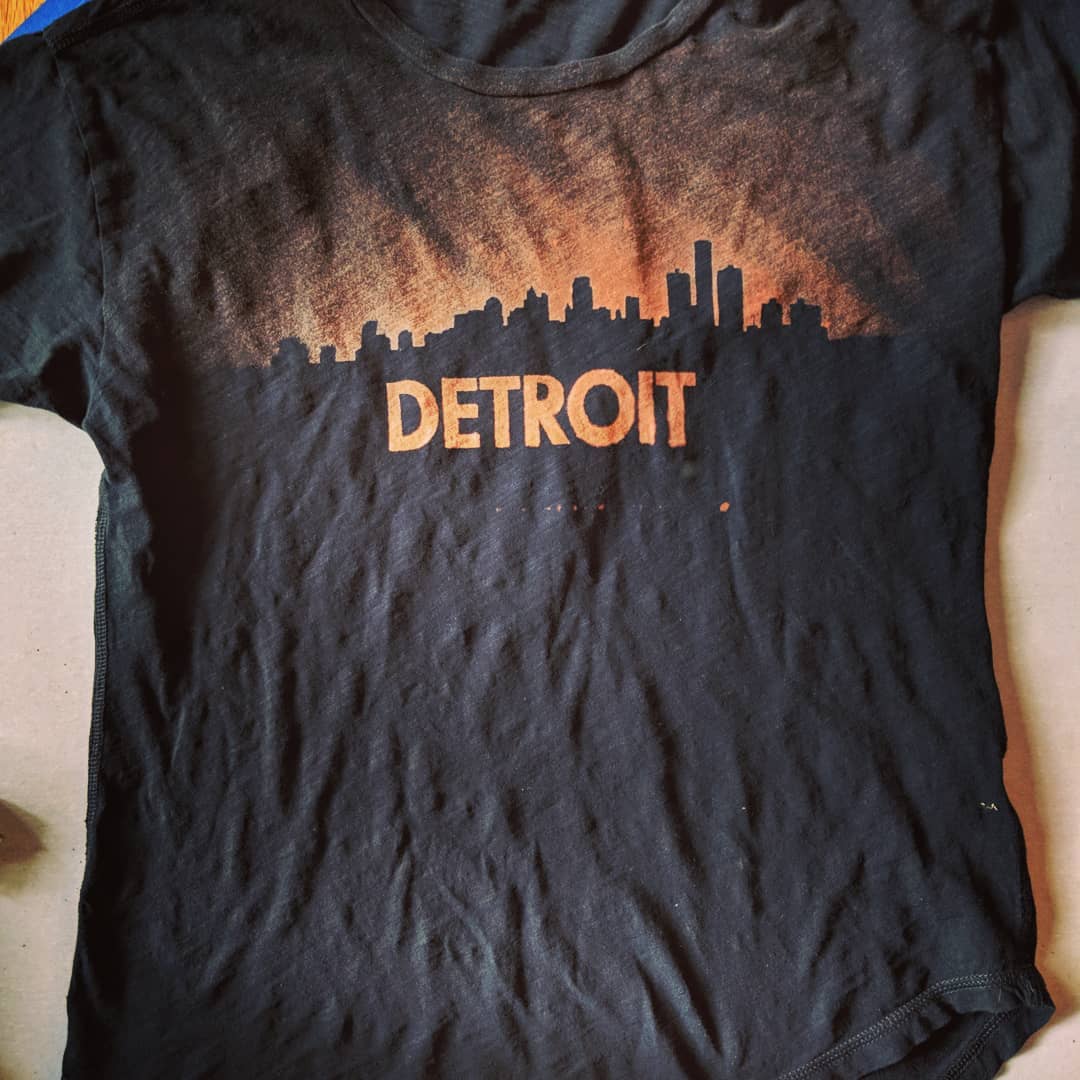
Detroit skyline.
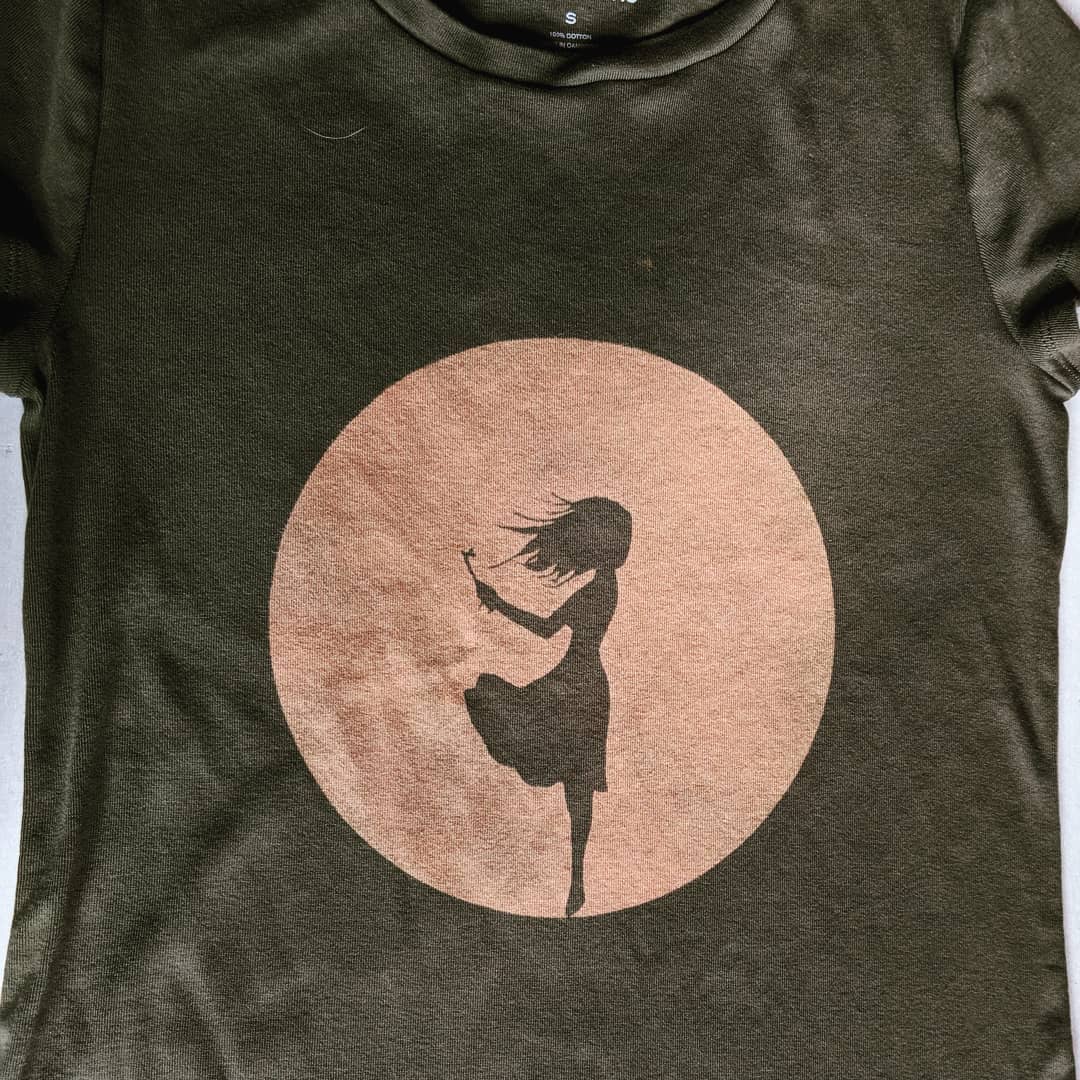
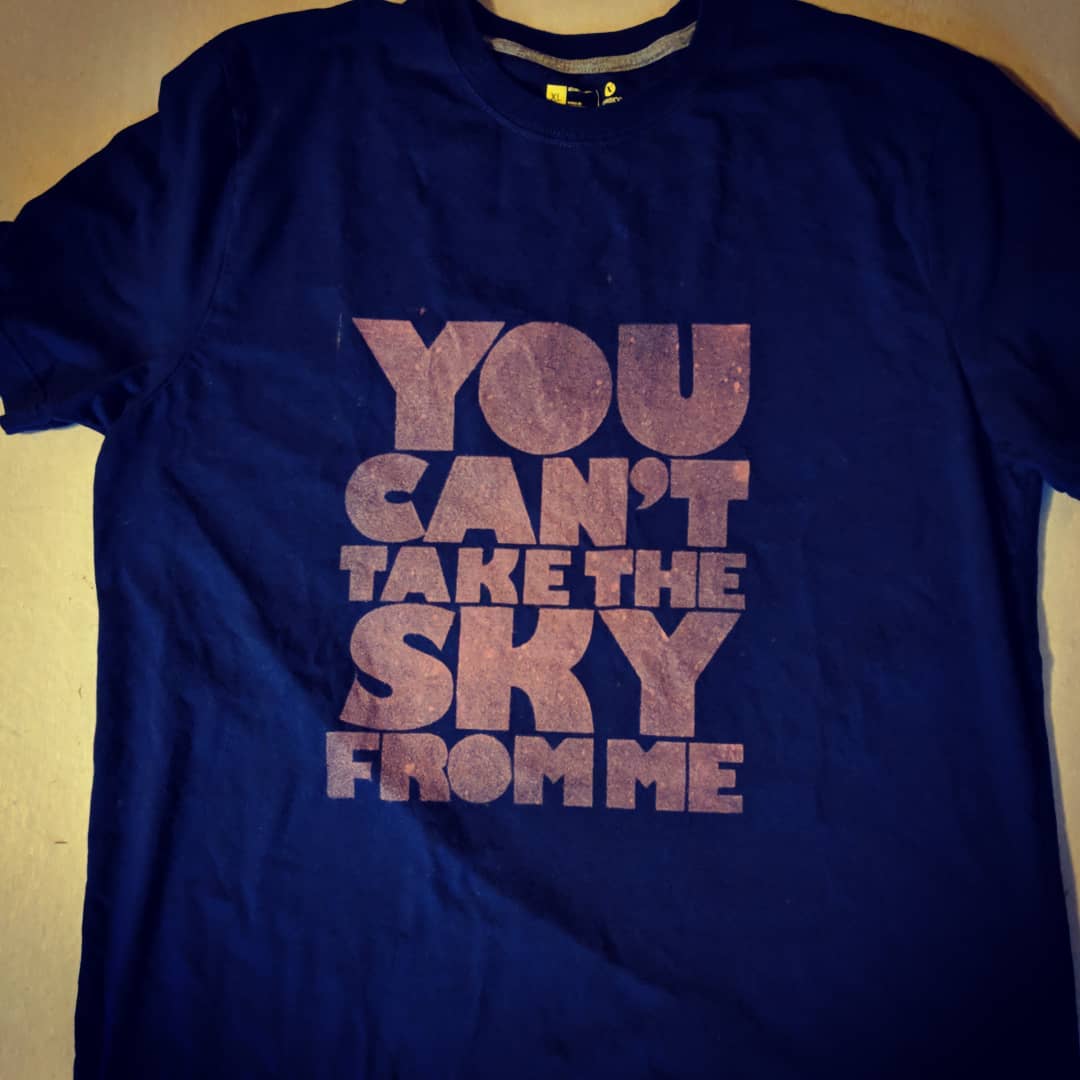
Designs Entirely Contained Within the Stencil
I also love that it makes kind of a distressed look when you have the bleach totally inside the stencil, and since it’s bleached the shirt feels really soft, there’s no paint of any kind.
Glow in the Dark Accents (fabric spray paint and HTV)
Sometimes I couldn’t get the bleach shirt as bright as I wanted, especially without ironing. But they looked pretty cool when I augmented them with heat transfer vinyl or fabric spray paint. (I used glow in the dark because the kids love it.)
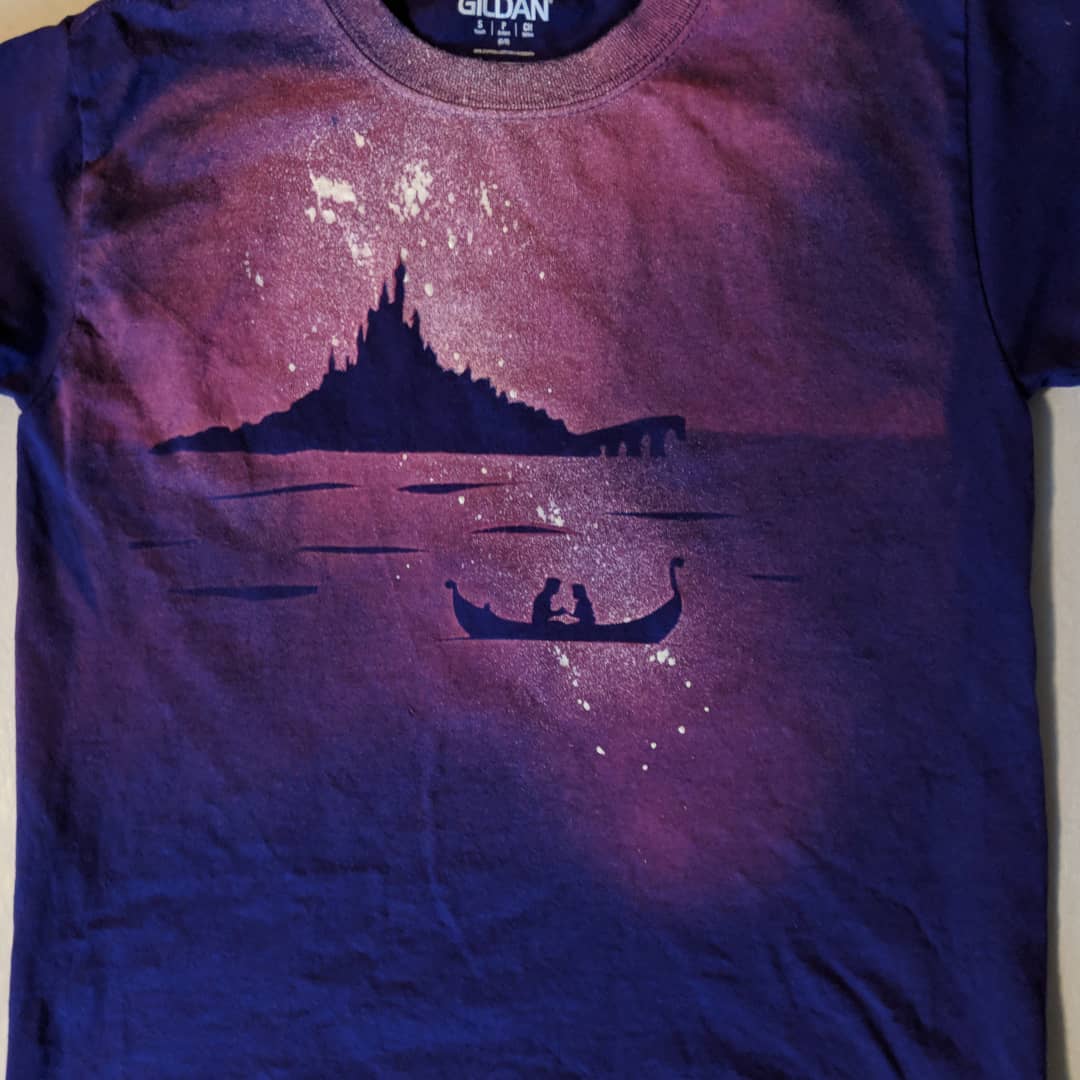
I used glow in the dark fabric spray paint for the floating lights in this Tangled shirt.
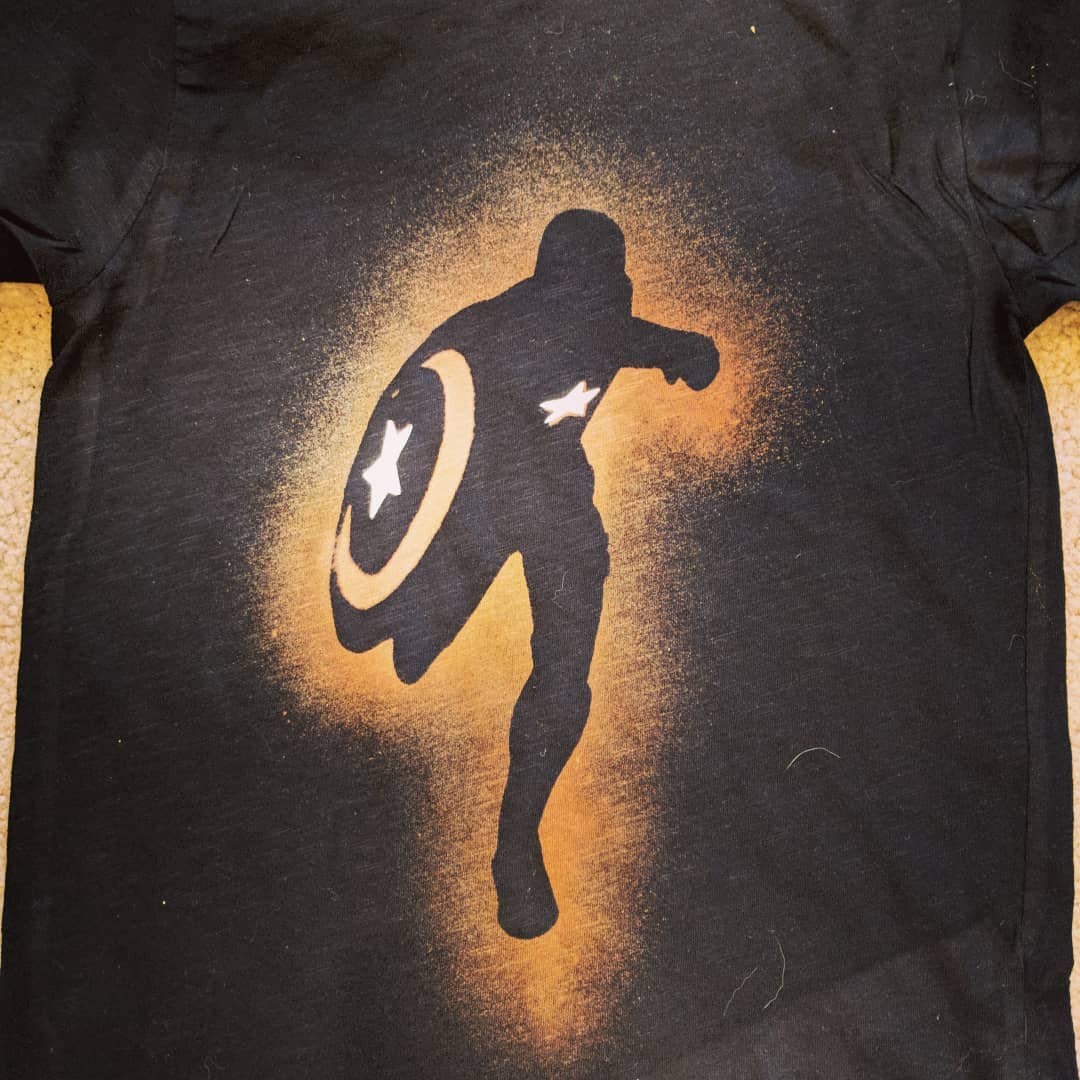
Captain America looked a bit too faded in this shirt. I highlighted his stars with glow in the dark heat transfer vinyl.
In this shirt, I left the bleach on too long and it bled out of the stencil into Aang’s eyes and arrows. But the bleach wasn’t perfectly white. So I cut white eyes and arrows out of glow in the dark heat transfer vinyl, and ironed them on. This ended up giving the shirt a much crisper look. And my son loves how it glows in the dark..
Multiple Layer Bleach Shirts
I also wanted to try a shirt that had multiple layers of bleach to see if I could get the variation in color I’d seen online. I tried this out with a silhouette of Serenity cut out of contact paper, covered by a circle cut out of cardstock.
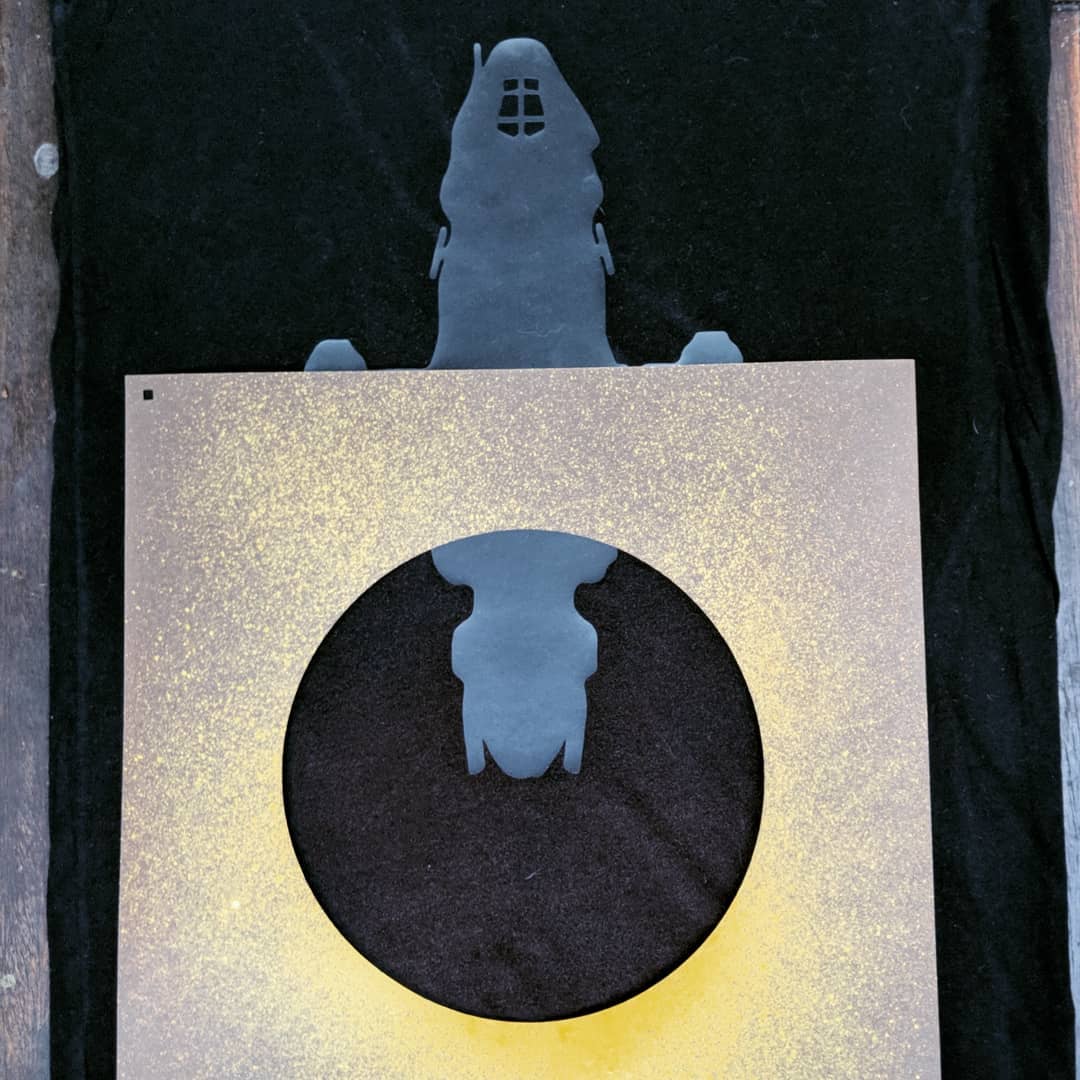
This picture was taken right after applying the first spray of bleach. The cardstock bleached a lot faster than the shirt!
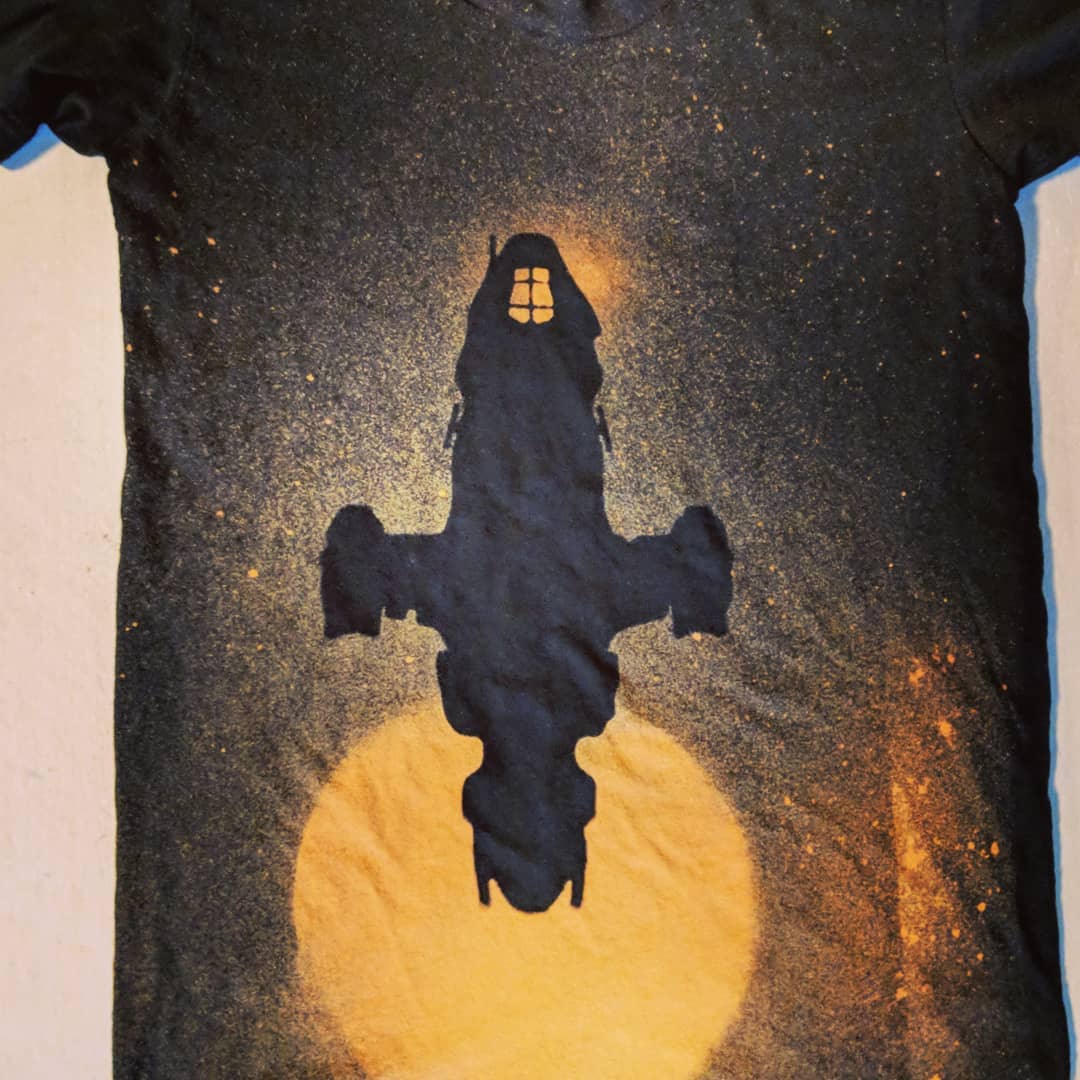
After the circle bleached a bit, I spritzed the rest of the shirt. I really like how the contact paper produced much more clean lines than the cardstock.