Knitting a Red Wings Hockey Jersey
My grandmother taught me to knit when I was 8 or 9 years old, and I’ve been doing knitting projects on and off ever since. I switch back and forth between making things from patterns and designing them myself. I don’t really know what I’m doing; I make things up as I go and look up techniques in my trusty copy of Stitch ‘n Bitch if I get lost. Several years ago, I made my husband Doug a sweater, but he doesn’t wear it much because it needs to be hand-washed. Two years ago, I decided to try again. I asked him if there was anything he could think of that I could knit him that he would actually wear. I was thinking maybe gloves or a hat, but he had something else in mind. The only thing he wanted, he said, was a hand-knit sweater that looks just like a Red Wings hockey jersey. I made him one, but it took me a long time! Here is the story (and the pattern).
I actually had to do two complete sweaters before I got it right. I had never knit something so big before, and I made some critical mistakes in my first design. First, I used big needles to make the knitting go faster. Second, I made the sweater as simple as possible by making the sleeves and the front/back just square pieces that I sewed together. I knit all the pieces and sewed them together and the sweater looked great! But then Doug tried it on and the combination of big stitches and heavy sleeves attached at the sides of the body made the collar stretch and the sleeves hang down past his knees! So we tried again with a revised design. Here’s the details of what we came up with:
The Yarn
Doug insisted that the color had to be the same bright red the Red Wings wear, none of the nice darker reds they sell in yarn stores. After a long search, we settled on geranium red Bamboo Ewe. But there was a problem–there isn’t a white Bamboo Ewe yarn. Or a white bamboo/wool blend. So we went with an acrylic that’s easy to find–“snow” whiteBernat Satin. I was worried using two different types of yarn would make the design look a little weird, but it came out fine.
The Pattern
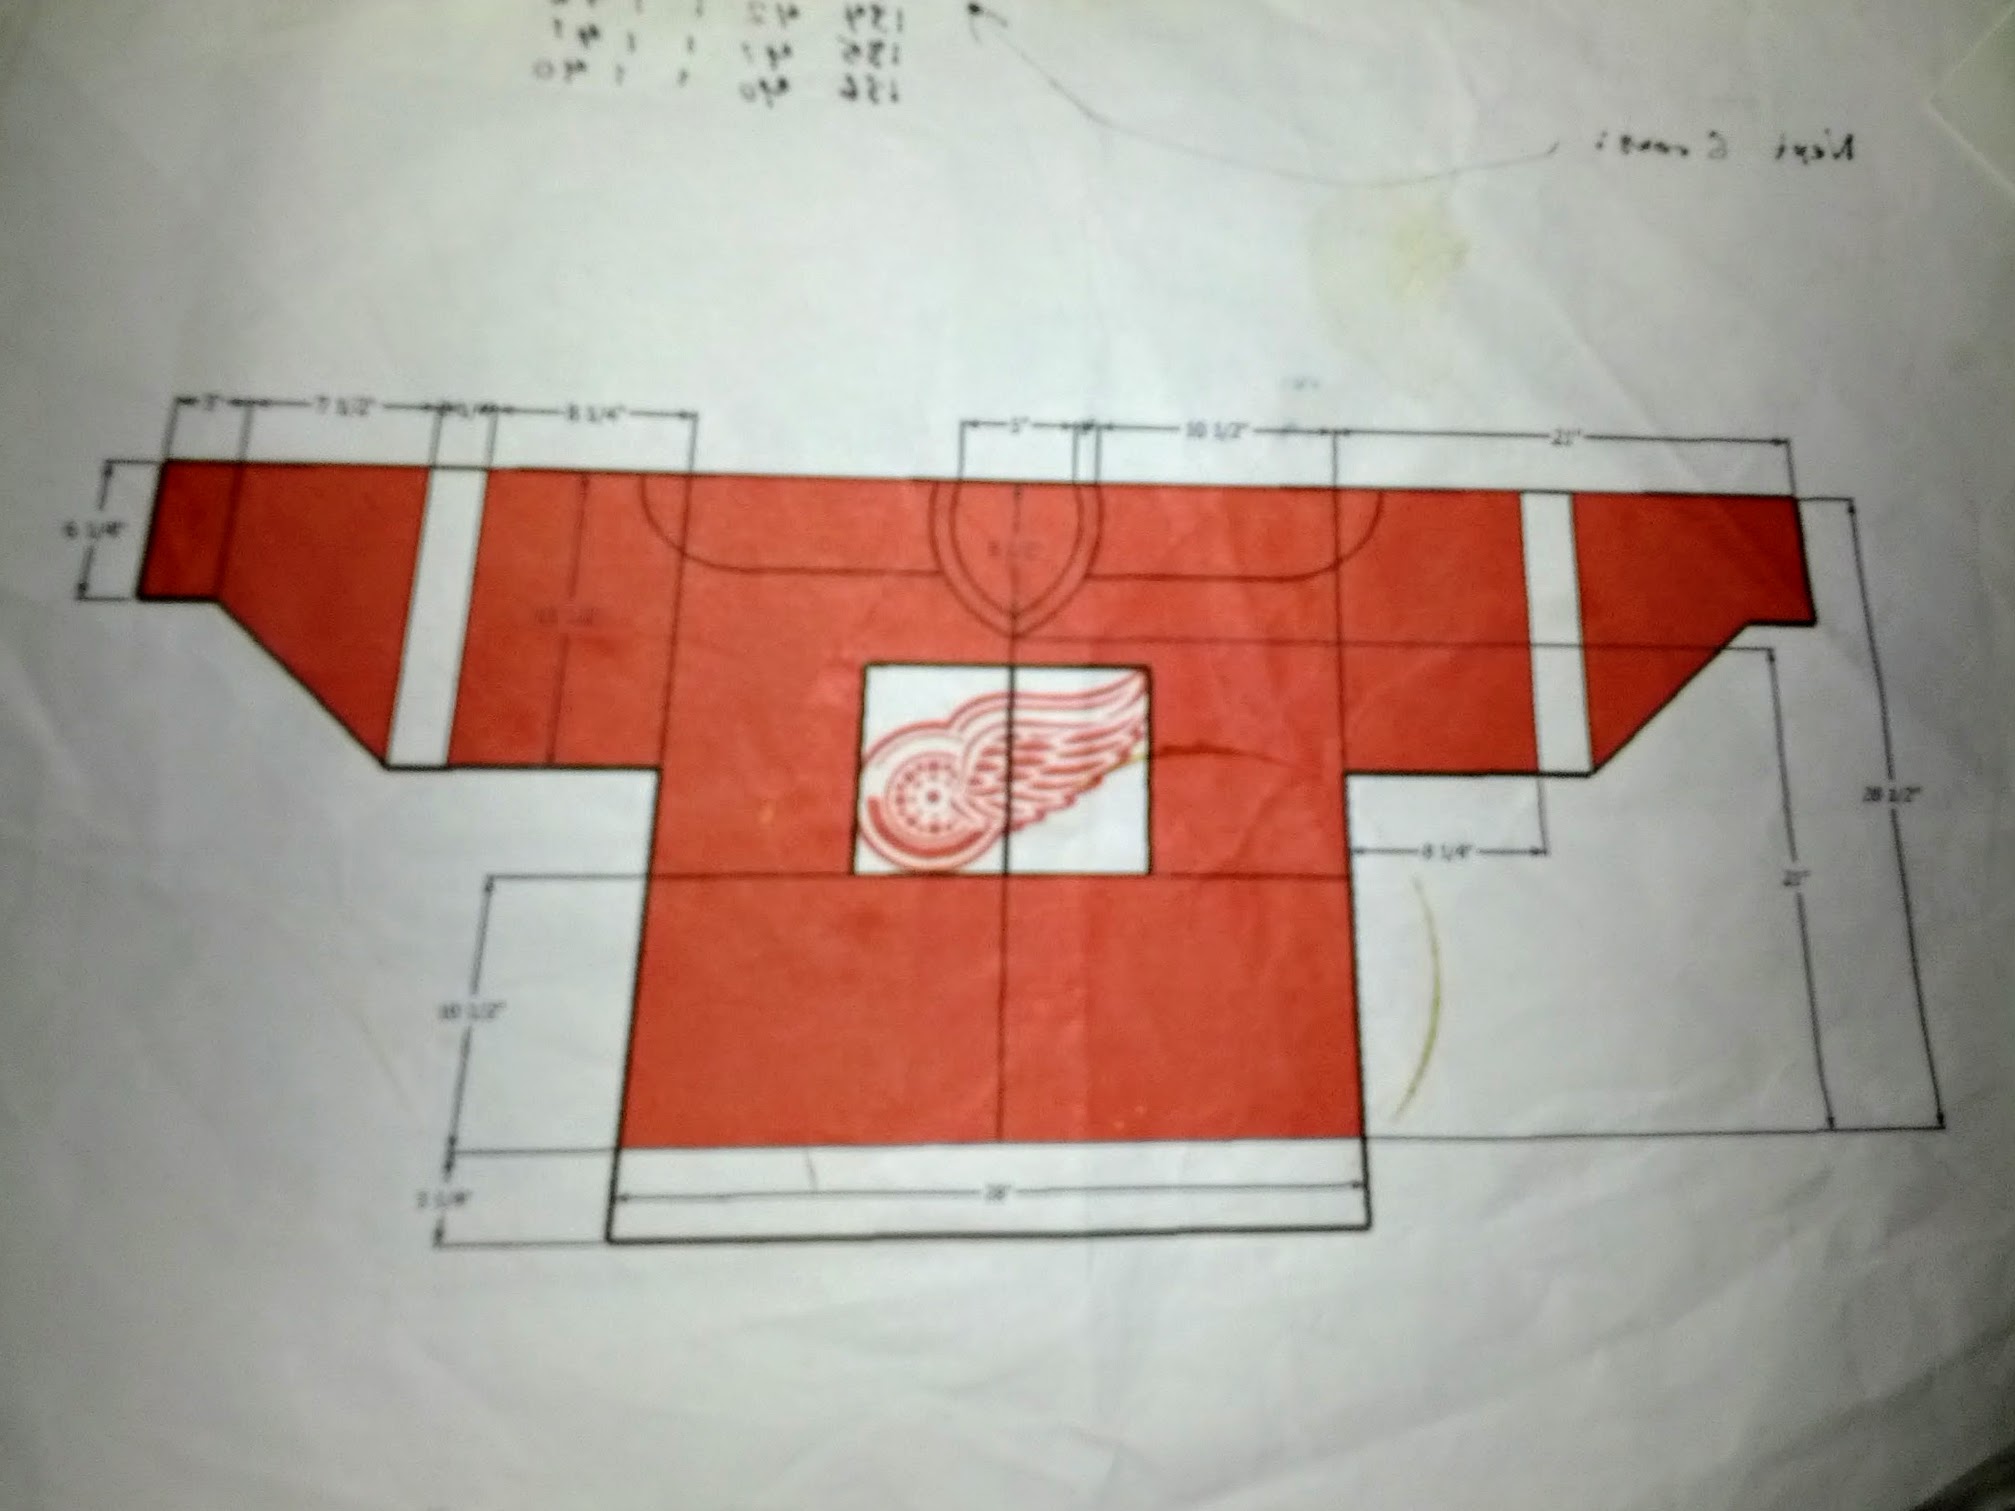
Doug laid out his official Red Wings jersey on the floor and measured it, and then drew out a pattern for me in Sketchup:
After the stretching problems I had with size 10 needles, I switched to size 4 needles and knit a few gauges. 4.5 stitches per inch wide and 6 stitches per inch high. To prevent the sleeves from sagging, I switched to raglan sleeves. Then I just had to convert Doug’s measurements to my gauge. I drew a couple of diagrams:
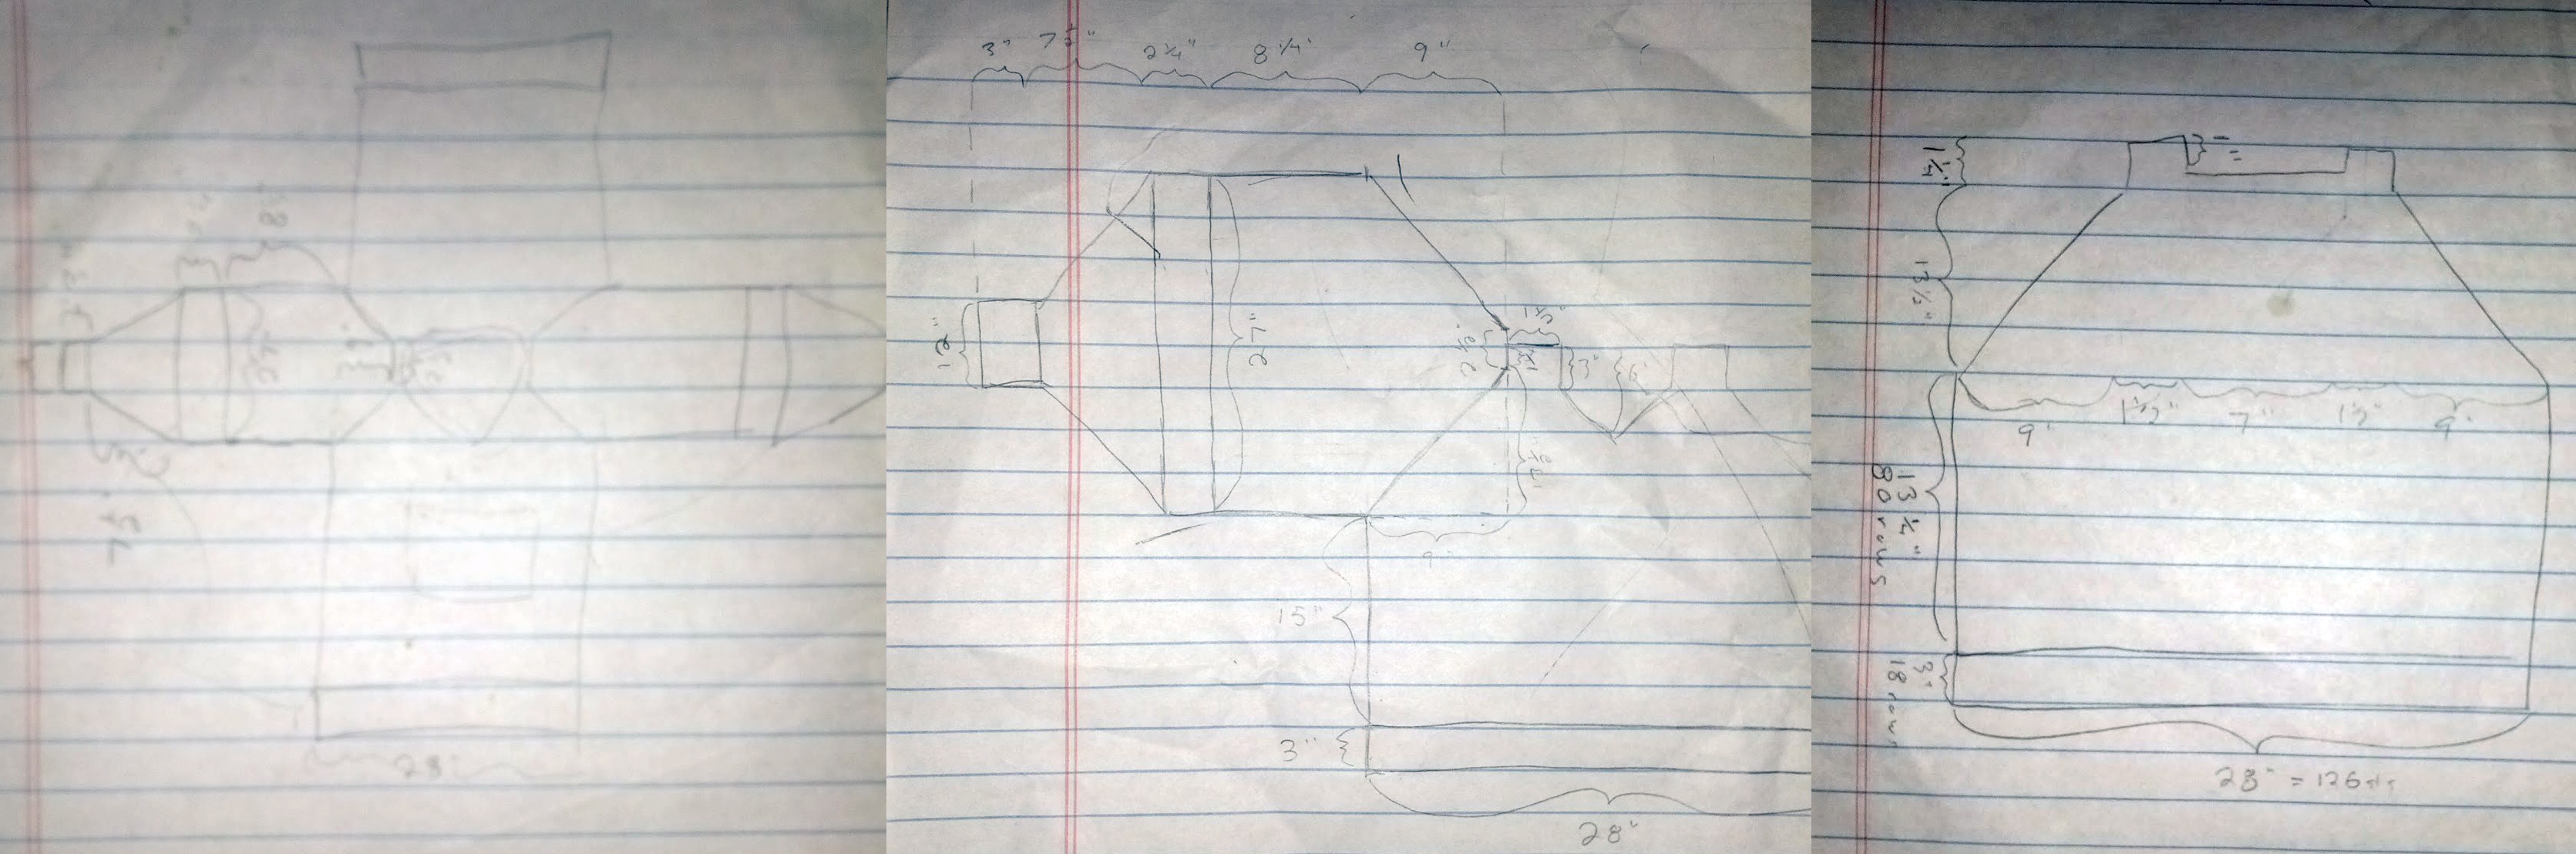
And from there I came up with patterns for the front, back, and sleeves:
Back
Cast on 126 stitches white
18 rows garter stitch
Switch to red
80 rows stockinette stitch
Rows 81-160: decrease 1 each side on each knit row, to 46 stitches
2 rows stockinette stitch
Collar shaping:
Knit stitch, bind off 34, knit 6
Knit 5 rows stockinette stitch
Bind off
Front
Cast on 126 sts white
18 rows garter stitch
Switch to red
80 rows stockinette stitch, starting pattern on 65th row
Rows 81-160: decrease 1 each side on each knit row
Collar shaping:
Row 129: split at middle onto two needles
Rows 129-145: decrease 1 each row each side of collar
Knit 5 rows stockinette stitch
Bind off
Sleeves
Cast on 54 stitches
First 6 rows: knit 2 purl 2 ribbing
Next 12 rows: garter stitch
Over next 44 rows, increase to 120 stitches (I lost the notes of exactly how I did this)
Switch to white
12 rows garter stitch
Switch to red
48 rows garter stitch
Over next 56 rows, decrease to 12 stitches (Again, lost the notes)
Bind off
Block and sew back, front, and sleeves
Collar
Pick up 90 rows around collar with circular needles, starting at front center
Knit 6 rows stockinette stitch, switching direction at end of each row
Bind off
Sew front center opening (makes more of a v-neck look)
The Red Wings Logo
Doug took my gauge and a photo of the red wings logo and drew a pattern in excel:
You can see I marked it off as I knitted.
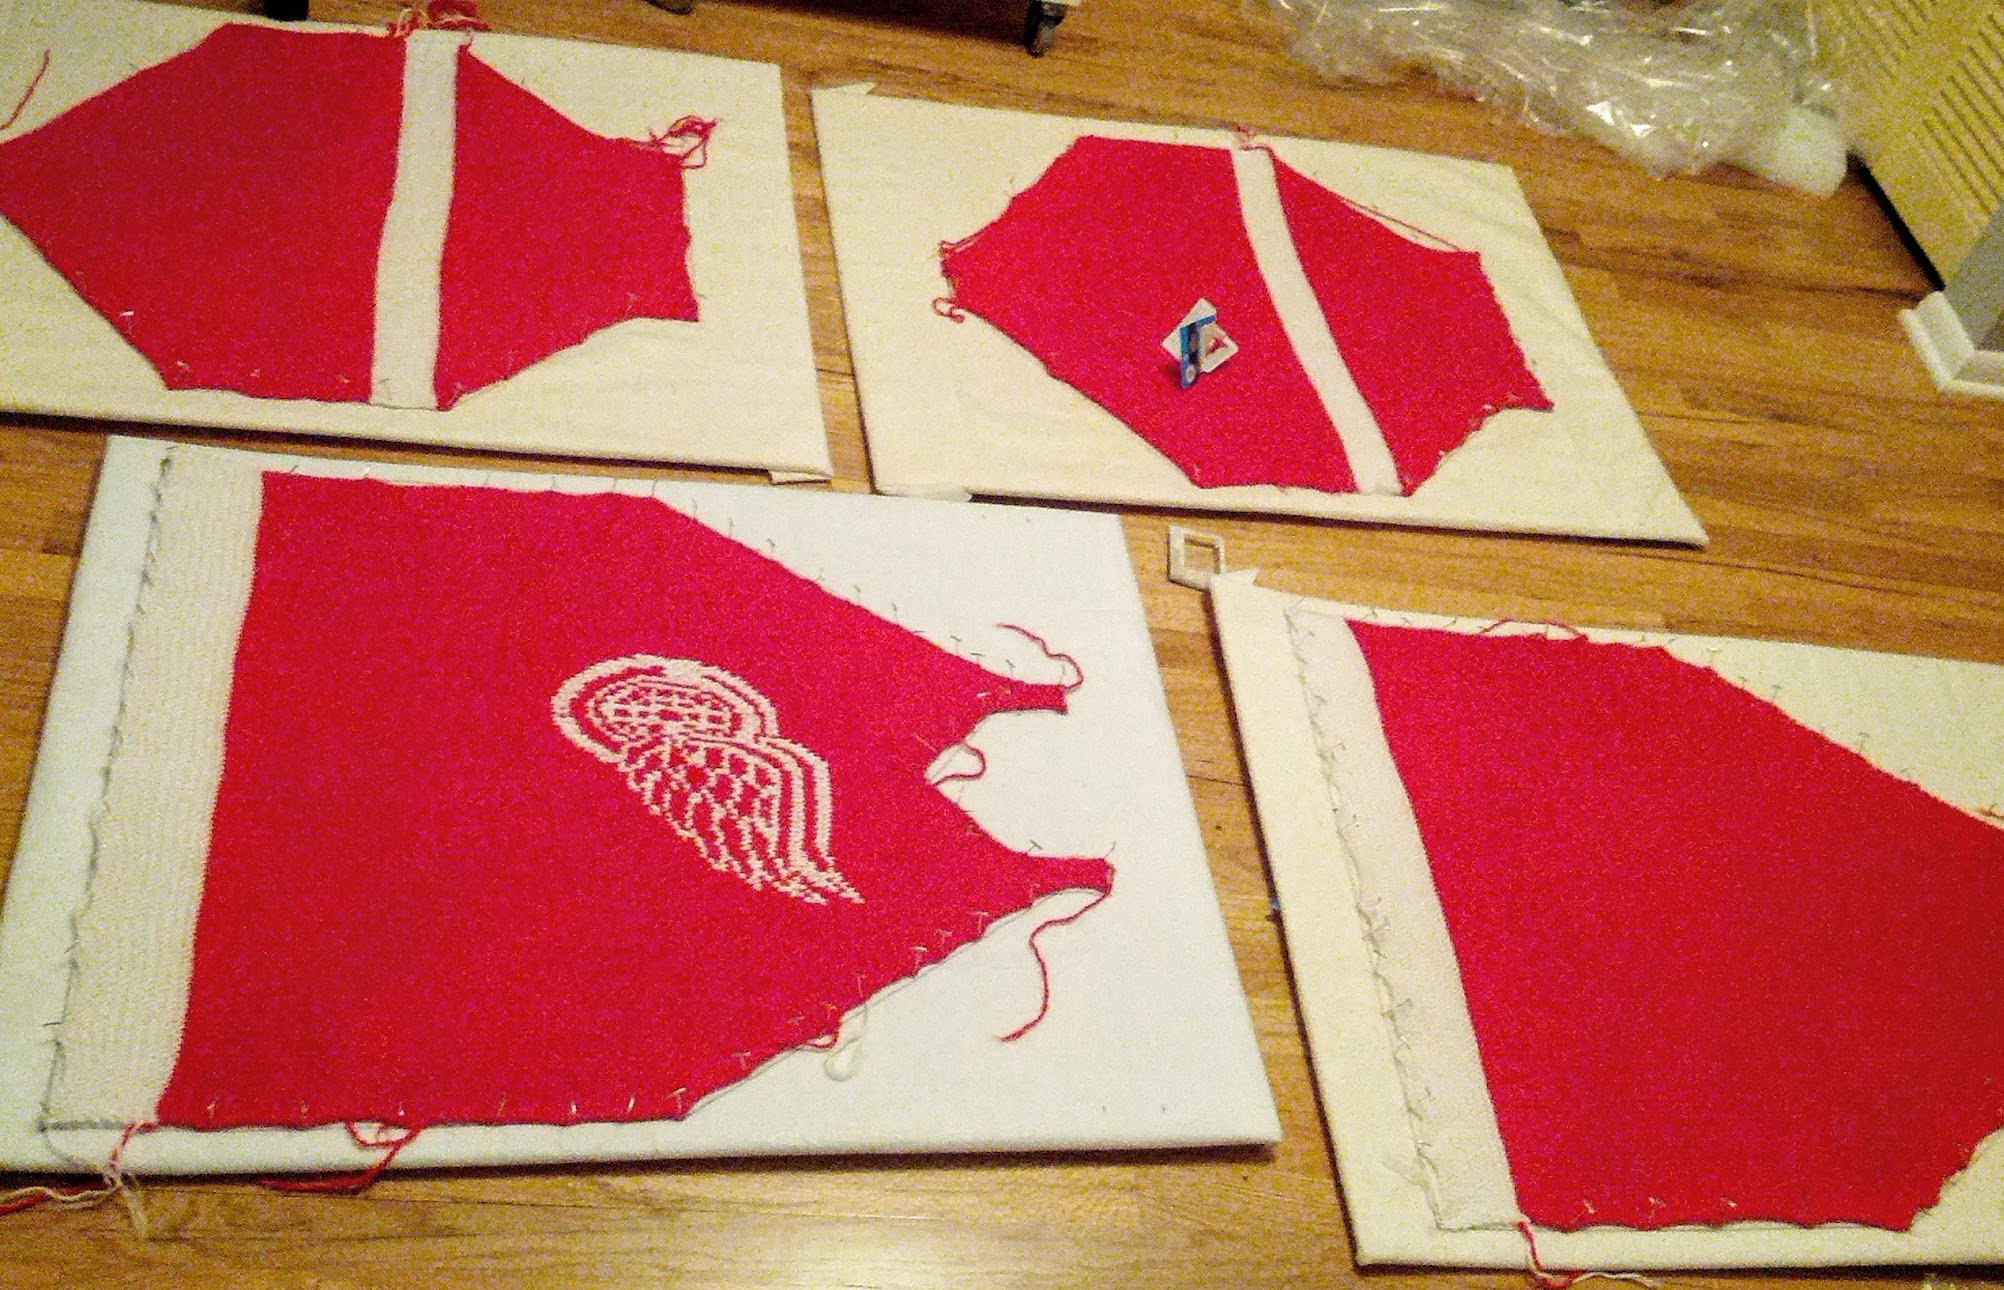
Blocking
I wasn’t sure what to do about blocking! There isn’t much info online about blocking bamboo/wool blends, and most sources say you’re not supposed to block acrylic. But the sleeves were different sizes, and there was a big line in the front where I had taken a 10-month break when Logan was born. So after much Googling, I decided wash the pieces in the washing machine first, then use this method where you pin the piece to a foam board covered in batting to dry.
Sewing
After blocking the pieces, sewing them together was pretty straightforward. I looked up the right methods for sewing the tops of pieces, sides of pieces, and tops to sides in Stitch ‘n Bitch.
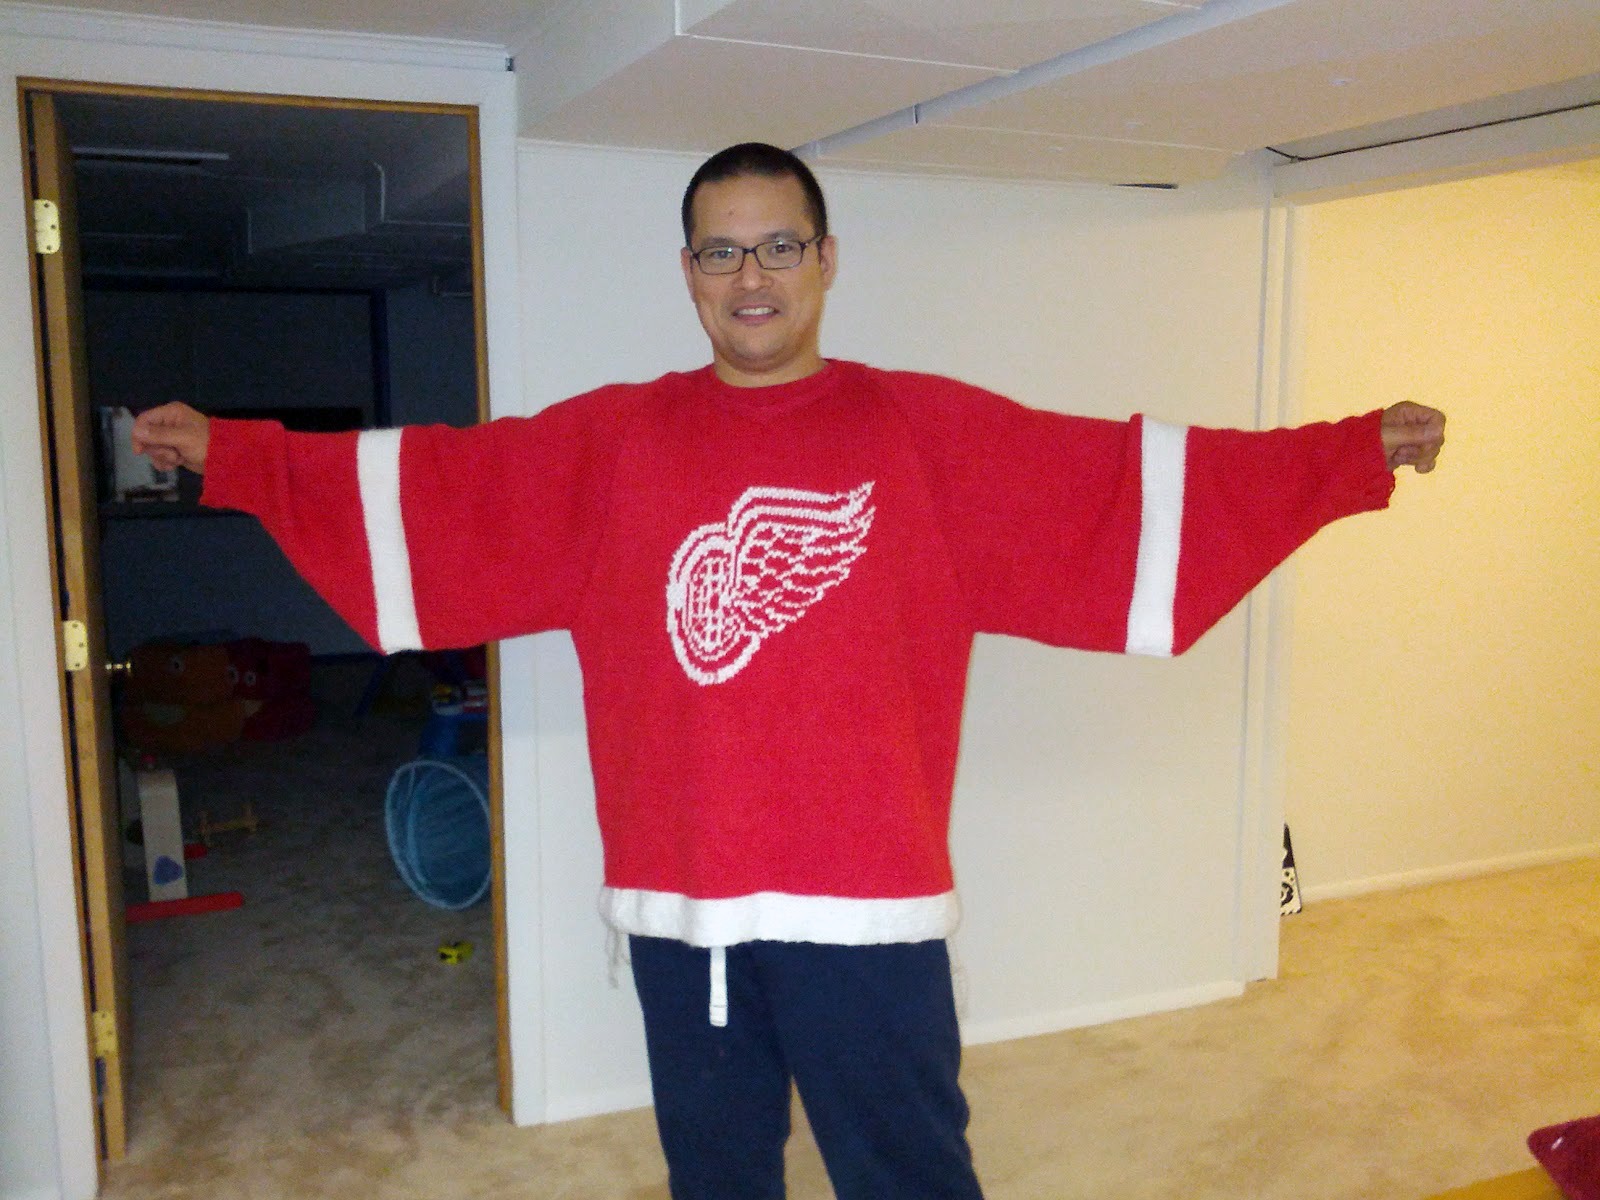
The Finished Product